I ruined more onions than I care to admit before I figured this out. I’d crank the heat, walk away for two minutes, and come back to a pan of bitter, blackened shards that smelled like regret. If that sounds familiar, you’re not alone — and you’re probably not doing anything fundamentally wrong. You’re just rushing. Caramelizing onions is one of those kitchen tasks that rewards patience more than skill, and once you understand what’s actually happening in the pan, you’ll never burn them again.
Here’s the thing most recipes won’t tell you: properly caramelized onions take 40 to 50 minutes. Not 10. Not 15. If a recipe says “caramelize onions, about 10 minutes,” that recipe is lying to your face. Real caramelization — where the natural sugars break down slowly into those deep, jammy, almost sweet-savory layers — requires low heat and your actual attention. I’m going to walk you through every step, including the mistakes I made so you don’t have to repeat them. By the end, you’ll have a pile of soft, golden-brown, *impossibly* sweet onions that taste like they belong in a French bistro.
Step 1: Choose the Right Onions
Not all onions are created equal for this job. You want **yellow onions** — the common, papery-skinned ones you probably already have. They have the best balance of sugar and sulfur compounds, which means they develop the deepest flavor as they cook down. Sweet onions like Vidalias work too, but they contain more water, so they’ll take a bit longer and can turn mushy if you’re not careful. Red onions caramelize beautifully and keep a faint blush of color, but their flavor is slightly different — more mellow, less complex. White onions? Skip them for this. They’re too sharp and don’t have enough sugar to develop that rich, toffee-like quality you’re after. For a good batch, grab **3 to 4 large yellow onions** — about 2 pounds. They cook down to roughly a quarter of their original volume, so what looks like an absurd amount of raw onion will shrink to a modest pile.
Step 2: Slice Them Evenly — This Matters More Than You Think
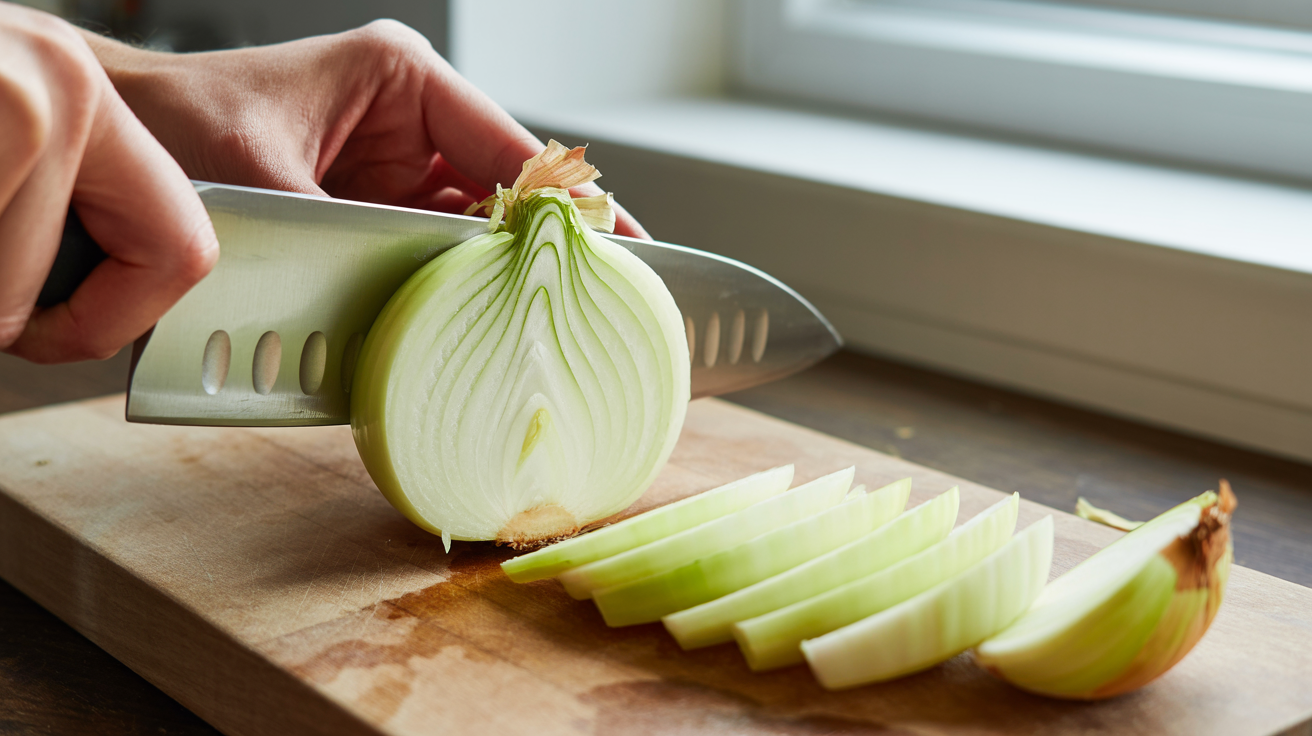
Cut each onion in half from root to tip, peel it, then lay each half flat-side down. Slice into half-moons about ⅛ to ¼ inch thick. **Do not dice them.** You want long, thin slices because they cook evenly and tangle together into that beautiful, silky heap. If your slices are wildly different thicknesses — some paper-thin, some chunky — the thin ones will burn while the thick ones are still crunchy. Consistency is everything here. I keep the root end intact while slicing because it holds the onion together and gives me something to grip. Once I get close to the root, I just toss it.
Step 3: Pick the Right Pan and Fat
Use a **12-inch heavy-bottomed stainless steel or cast iron skillet**. Nonstick pans won’t give you the same fond — those sticky brown bits on the pan surface that dissolve back into the onions and build flavor. A thin, cheap pan will create hot spots that scorch the onions before they have a chance to soften. You need even heat distribution, and heavy pans deliver that. For fat, use **2 tablespoons of unsalted butter and 1 tablespoon of olive oil**. The butter gives you that gorgeous nutty richness, and the oil keeps the butter from browning too fast. Some people use all butter, some use all oil. I’ve tested both. The combo is *noticeably* better. Melt them together over **medium heat** until the butter foams and the foam subsides — that’s your signal the water in the butter has cooked off and your pan is ready.
Step 4: Add the Onions and Season Early

Dump all the onions into the pan. Yes, it will look ridiculous — they’ll be piled high above the rim. That’s fine. Toss them with tongs to coat everything in the butter-oil mixture. Now here’s where I add **¾ teaspoon of kosher salt**. Salting early does two things: it pulls moisture out of the onions (which helps them wilt faster) and it seasons them all the way through rather than just on the surface. You’ll hear a loud, satisfying sizzle when they hit the hot fat. Stir them every couple of minutes for the first 10 minutes. During this phase, the onions are just releasing water and going limp. They’ll shrink dramatically. Don’t touch the heat — keep it at medium. **This is not the exciting part yet.** This is the setup.
Step 5: Drop the Heat and Commit to the Process
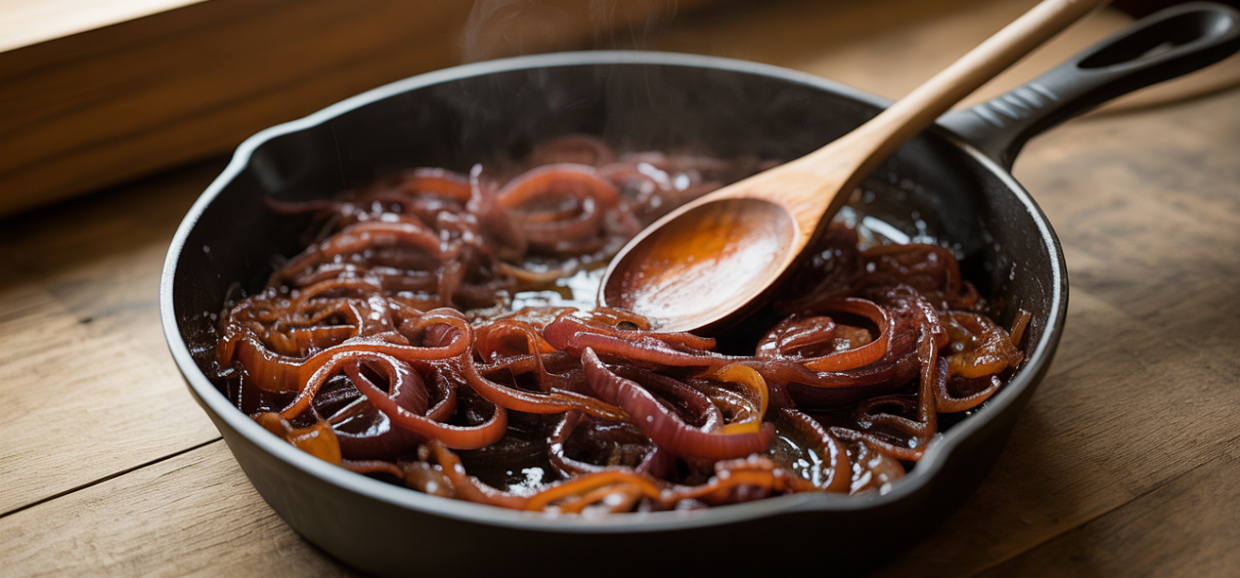
Once the onions have wilted and the pan looks wet and steamy — usually around the 10-minute mark — **reduce the heat to medium-low**. This is the moment where most people mess up. They keep the heat high because they’re impatient, and the sugars start to char instead of caramelize. There’s a massive difference between those two things. Charring is fast and bitter. Caramelizing is slow and sweet. From here on, stir the onions every 3 to 5 minutes. You’re looking for a slow, gradual color shift — from translucent white to pale gold to amber to deep, rich brown. If you see any dark spots forming on the bottom of the pan, that’s fond developing. That’s good. But if those spots turn black, your heat is too high. **Do not rush this part.** Set a timer. Listen to a podcast. This phase takes 30 to 40 minutes, and there’s no shortcut that doesn’t sacrifice quality.
Step 6: Deglaze the Pan at the Right Moment
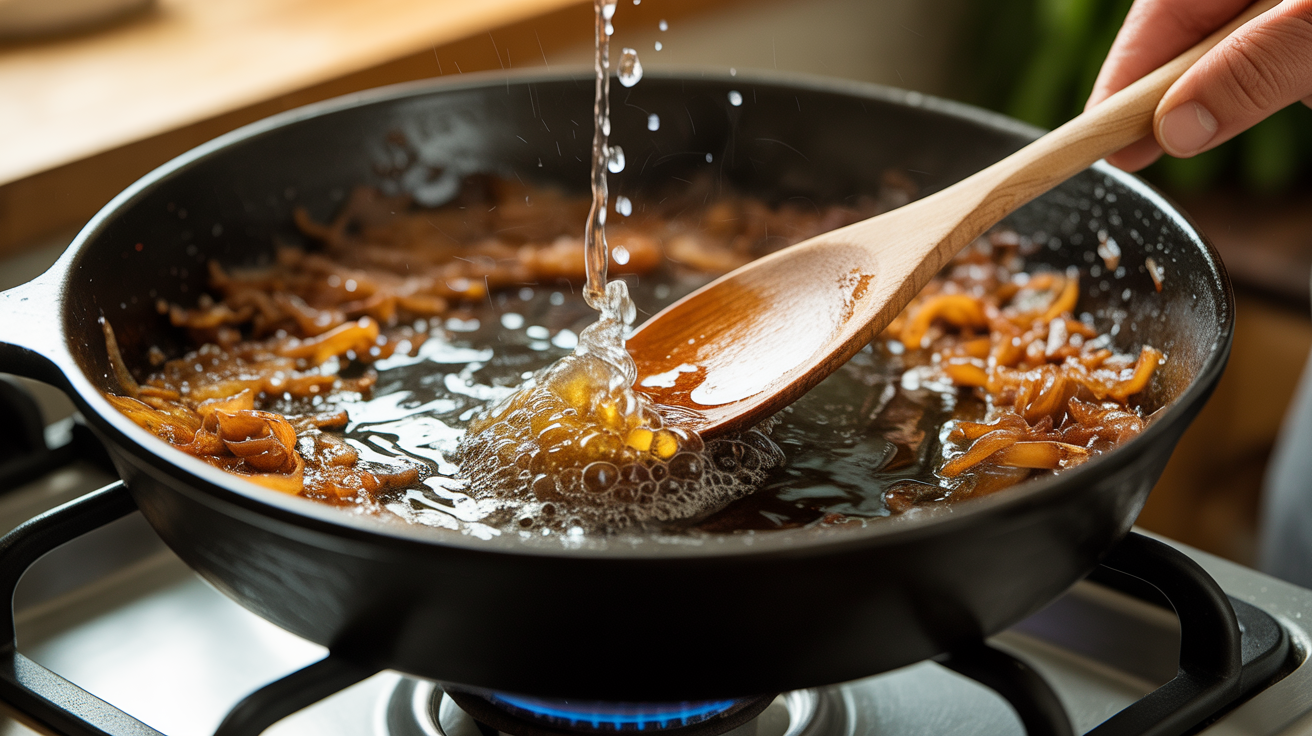
Around the 30-minute mark, you’ll notice the bottom of the pan getting sticky and deeply brown. The onions will be significantly darker, soft as butter, and smelling *ridiculously* sweet — like something between toffee and roasted garlic. This is where a splash of liquid works magic. Add **2 tablespoons of water, stock, or dry white wine** directly to the pan and scrape the bottom with a wooden spoon. You’ll hear it hiss and bubble. All that concentrated flavor stuck to the pan dissolves right back into the onions. You can do this 2 or 3 times throughout the cooking process if the pan gets too dry. **This is the step most people skip**, and it’s the difference between good caramelized onions and extraordinary ones. Each deglaze adds another layer of depth.
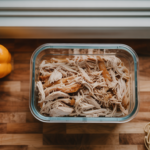
Step 7: Know When They’re Done (and When to Stop)
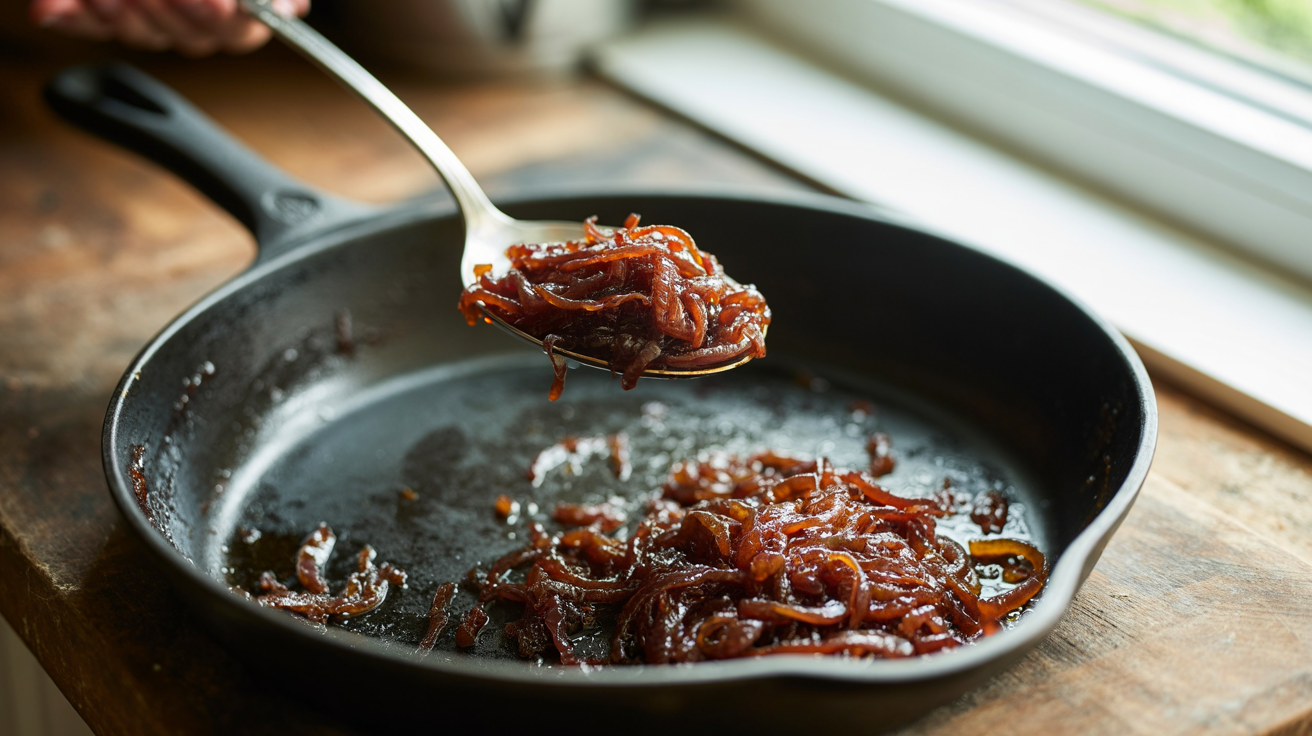
Finished caramelized onions should be a **deep mahogany brown**, uniformly colored, and soft enough to spread like jam on a piece of bread. They should taste intensely sweet with a slight savory edge — no bitterness, no crunch, no raw onion sharpness whatsoever. If you taste bitterness, you went too far or your heat was too high at some point. The total time from start to finish should be somewhere between 40 and 55 minutes. I know that sounds like a lot for onions, but taste one and tell me it wasn’t worth it. Let them cool for a few minutes in the pan, then transfer to a jar. They keep in the fridge for up to a week, and they freeze beautifully for up to 3 months. I make a double batch every time and freeze half in ice cube trays for instant flavor whenever I need it.
Frequently Asked Questions
Can I speed up caramelized onions with baking soda?
You can. A tiny pinch — like ⅛ teaspoon — raises the pH and accelerates browning, shaving maybe 10 minutes off the process. But the texture changes. The onions get softer and slightly slippery, almost mushy. I’ve done it when I’m in a real time crunch, but the onions just aren’t as good. If you have the time, skip the baking soda.
Why do my caramelized onions taste bitter?
Bitterness means the sugars burned instead of caramelizing. This happens when the heat is too high or when you don’t stir often enough and the onions sitting on the pan surface scorch. Drop the heat, stir more frequently, and deglaze the pan before those dark bits turn black.
Can I caramelize onions in a slow cooker?
Technically, yes — toss sliced onions with butter, set it on low for 8 to 10 hours. The result is fine, honestly. But you won’t get the same depth because there’s no fond developing on the bottom of a ceramic insert. It’s a hands-off method that produces a B+ result. The stovetop method gives you an A+.
What should I put caramelized onions on?
Everything. Seriously — burgers, pizza, grilled cheese, steak, scrambled eggs, pasta, flatbread, soup. They’re the secret ingredient in my French onion soup and the reason my burgers taste better than most restaurant versions. Stir them into warm goat cheese with a little thyme and you’ve got the best dip you’ve ever tasted.
Can I use a different type of onion?
Sweet onions and red onions both work, with slight differences I mentioned above. Shallots caramelize *beautifully* and have an almost wine-like sweetness when cooked low and slow. Just keep in mind they’re smaller, so you’ll need more of them, and they cook a bit faster due to their size.
Final Thoughts
Caramelizing onions isn’t hard. It isn’t complicated. It’s just slow — and in a world where we want everything done in 15 minutes, that can feel like a big ask. But I promise you, the first time you nail a batch of properly caramelized onions — deep brown, sweet, jammy, with that complex savory backbone — you’ll understand why every great cook keeps these in their repertoire. Low heat, patience, and a heavy pan. That’s the whole secret. Now go make a batch and put them on absolutely everything.