-
Prep Time20 Minutes
-
Cook Time5 Minutes
-
Serving16
-
Serving Size2 Pieces
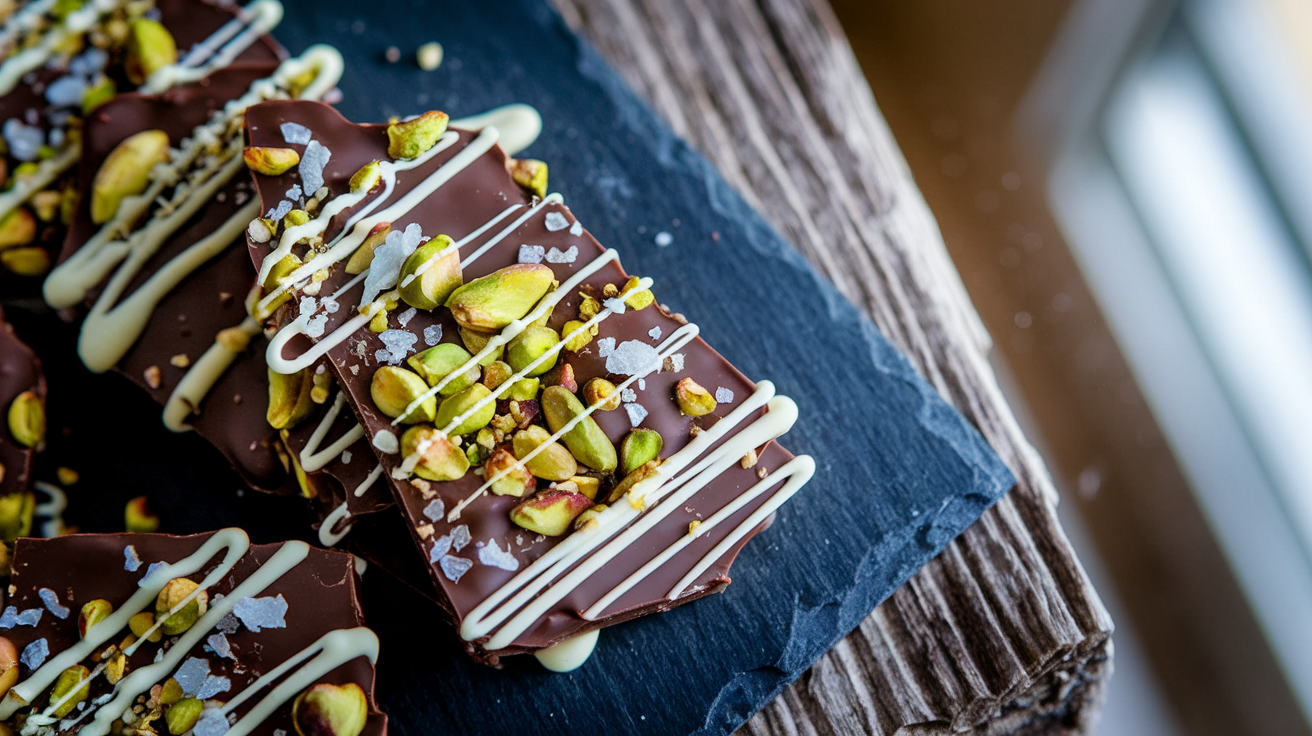
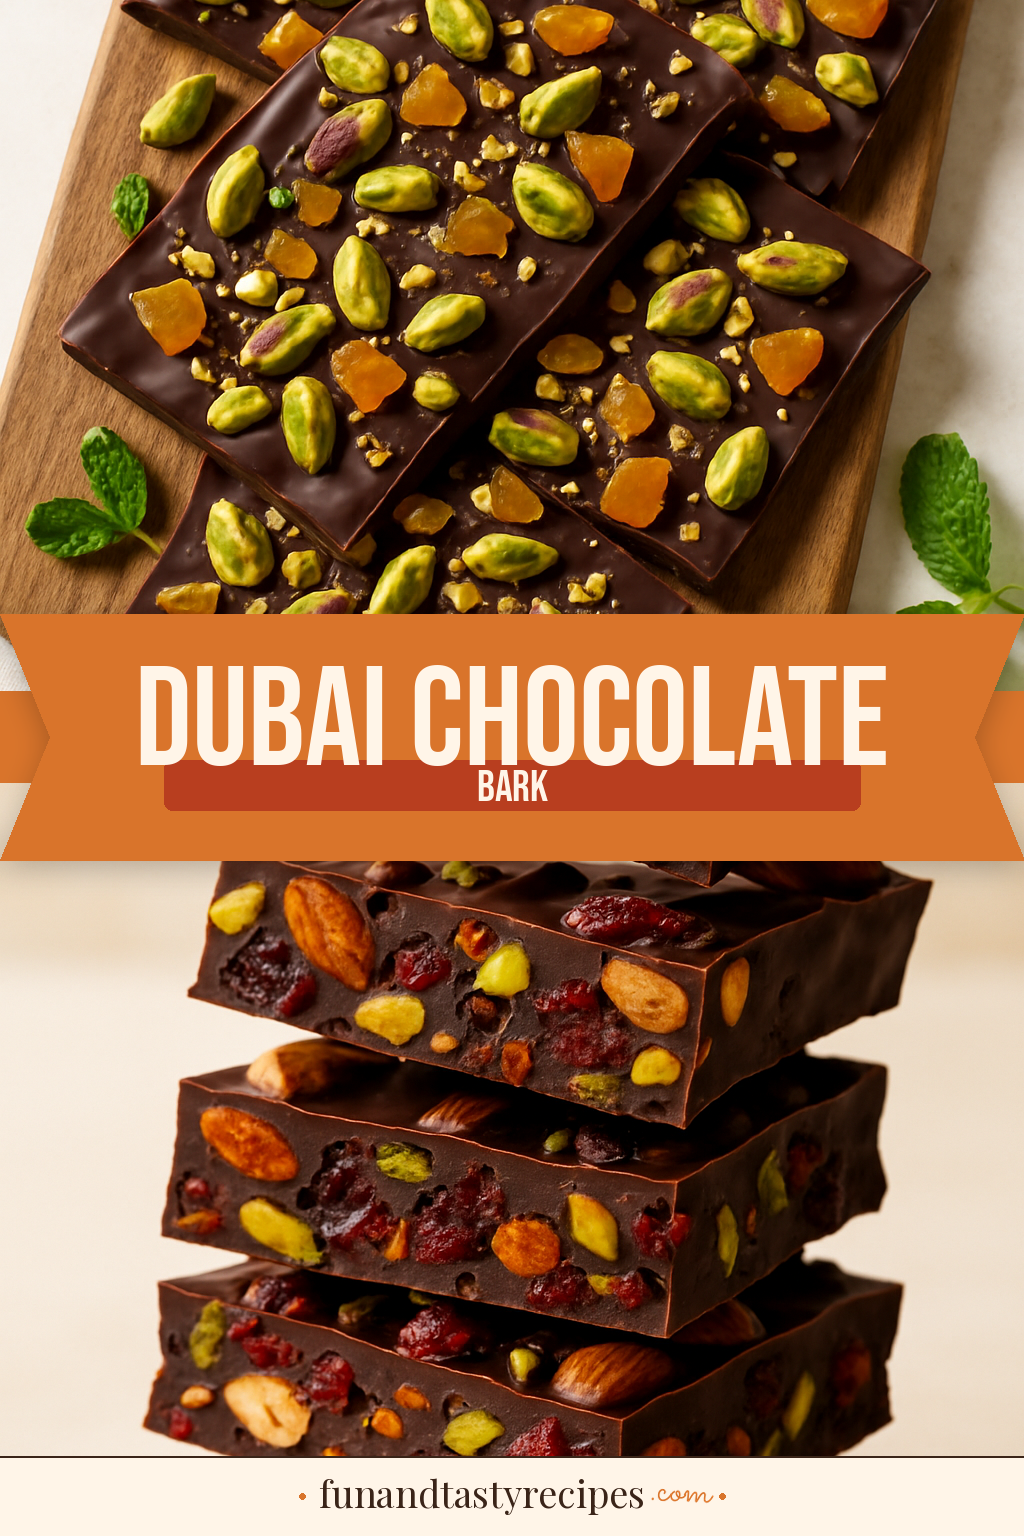
If you have been anywhere near social media lately, you have probably seen Dubai chocolate everywhere and there is a very good reason for it. This Dubai Chocolate Bark takes that viral sensation and turns it into something even easier to make at home: a stunning gift-worthy treat that layers rich dark chocolate with a crispy buttery pistachio-kataifi filling that is unlike anything you have tasted before.
What makes this recipe truly special is the filling. Kataifi, the shredded phyllo dough used in Middle Eastern pastries, gets toasted in butter until deeply golden and crunchy, then folded together with lush pistachio cream and a touch of tahini. That combination creates a texture that is impossibly satisfying: crunchy, creamy, nutty, and just the slightest bit salty against the bittersweet chocolate encasing it all.
The best part? You do not need any special equipment or pastry skills. If you can melt chocolate and stir things together, you can make this. It comes together in under 30 minutes of active time and just needs a chill in the fridge. Whether you are making it for a dinner party, a gift box, or just for yourself, this Dubai Chocolate Bark always disappears fast.
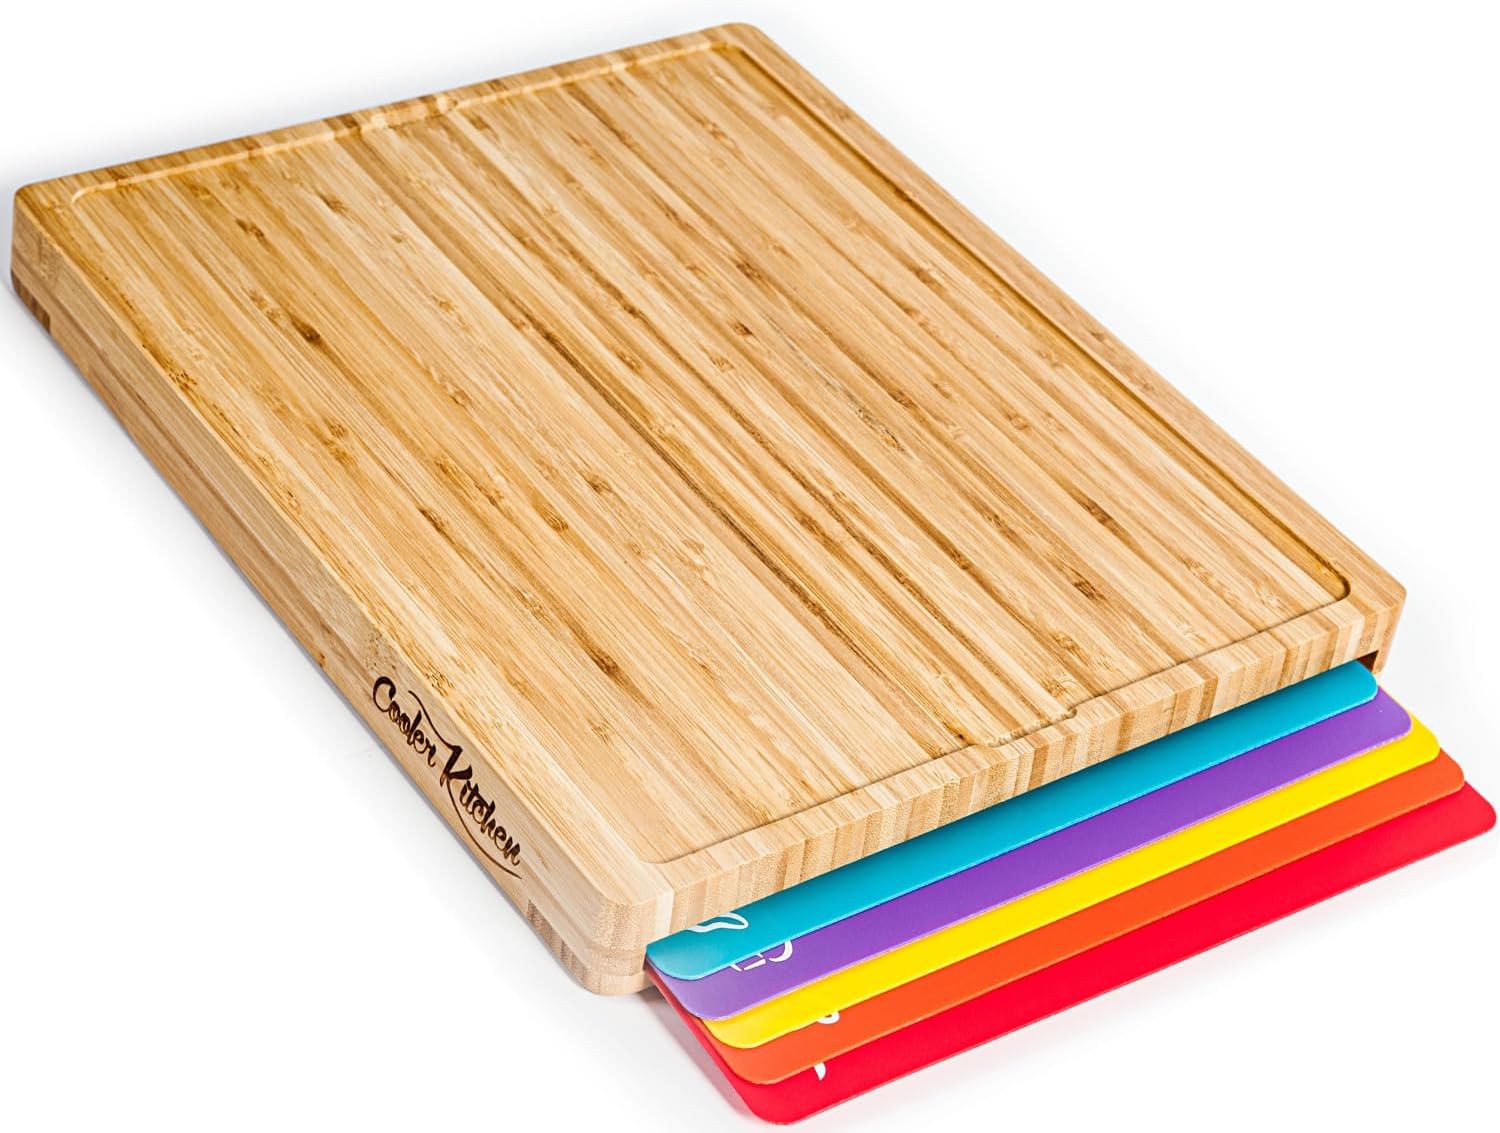
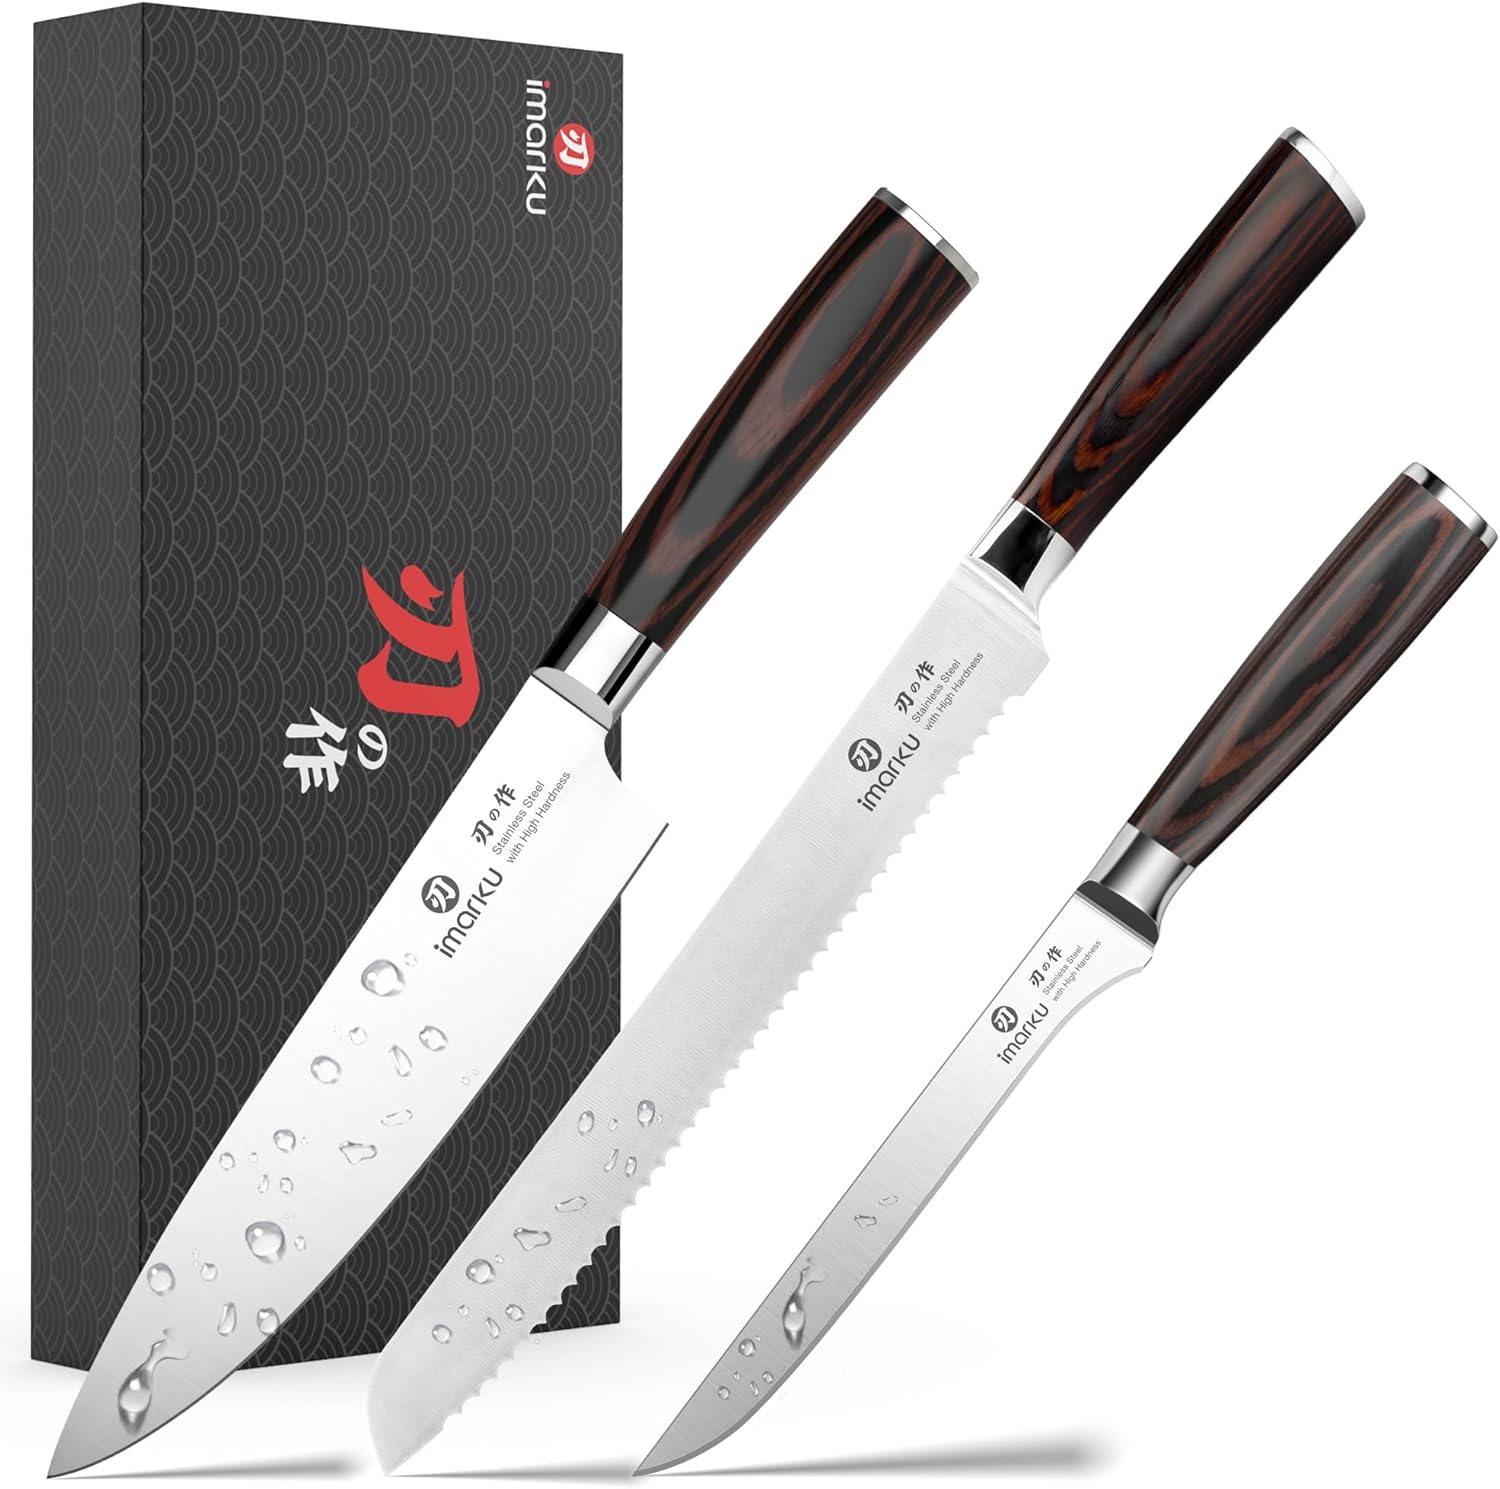
Helpful Products
Enter your email and we’ll send it straight to your inbox!
Love this recipe? Save it to Pinterest!
Did you make this recipe?
Leave a rating and let us know how it turned out! Your feedback helps other home cooks.
Ingredients
Dubai Chocolate Bark
Nutrition
Per serving
- Daily Value*
-
Calories: 285 kcal
-
Protein: 5g10%
-
Carbohydrates: 26g9%
-
Fat: 19g24%
-
Fiber: 3g11%
-
Sugar: 17g19%
-
Sodium: 45mg2%
Directions
The keys to success here are getting your kataifi properly toasted, it should smell nutty and look deep golden brown, and letting each chocolate layer set just right. Take your time with the toasting step because that crunch is everything.
Step 1: Prepare Your Baking Sheet
Line a 9x13 inch rimmed baking sheet with parchment paper, letting the paper overhang on both long sides by a couple of inches.
This overhang acts as handles so you can lift the finished bark out cleanly without cracking it.
Set the prepared pan aside on a flat stable surface.
Step 2: Toast the Kataifi
Melt 2 tablespoons of butter in a large skillet over medium heat.
Add the kataifi pastry and use your fingers or tongs to pull the strands apart into a loose fluffy pile before stirring, since clumps will not toast evenly.
Cook stirring constantly for 5 to 7 minutes until the kataifi turns deep golden brown and smells nutty and caramel-like. Watch it closely because it goes from perfect to burnt fast. Remove from heat and let cool 5 minutes.
Step 3: Make the Pistachio Filling
Add the cooled toasted kataifi to a large mixing bowl along with the pistachio cream, tahini, and a pinch of salt.
Stir everything together until the kataifi strands are evenly coated. You are looking for a chunky bright green mixture with visible toasted strands throughout.
Taste it. It should be nutty, creamy, and just slightly sweet with a whisper of salt. Adjust if needed.
Step 4: Melt the Dark Chocolate
Combine the dark chocolate chips and coconut oil in a microwave-safe bowl. Microwave in 30-second bursts stirring well after each one until fully melted and silky smooth, usually 2 to 3 rounds total.
Alternatively use a double boiler: set the bowl over a pot of barely simmering water without letting the bowl touch the water, and stir until smooth.
The chocolate is ready when it flows like thick cream with a glossy mirror-like sheen and no lumps remain.
Step 5: Pour the First Chocolate Layer
Pour roughly half the melted chocolate onto the prepared parchment-lined baking sheet.
Use an offset spatula or the back of a large spoon to spread it into an even layer about one-quarter inch thick.
Place the pan in the fridge for 8 to 10 minutes until the chocolate is firm but still slightly tacky on the surface. That tacky surface is what grips the filling and holds the layers together.
Step 6: Spread the Pistachio Filling
Remove the pan from the fridge. Spoon the pistachio kataifi filling onto the set chocolate layer in even dollops across the surface.
Use your fingertips or the back of a spoon to gently press and spread the filling into an even layer, leaving a half-inch border around the edges.
It should look like a vibrant green layer with beautiful texture.
Step 7: Pour the Second Chocolate Layer
Pour the remaining melted chocolate over the pistachio filling. Work quickly because as soon as warm chocolate hits the cold filling it starts setting.
Spread it with your spatula to cover the filling completely.
Tap the pan firmly on the counter three or four times to settle the chocolate and pop any air bubbles.
Step 8: Add Toppings and Chill
While the top chocolate layer is still wet scatter the chopped pistachios evenly across the surface.
Sprinkle the flaky sea salt over the top. If using white chocolate drizzle it in thin zigzag lines using a spoon or small piping bag.
Transfer to the fridge and chill for at least 1 hour until the bark is completely firm and solid all the way through.
Step 9: Break and Serve
Lift the fully set bark out of the pan using the parchment paper handles and place it on a cutting board.
Break it into irregular shards with your hands, aiming for pieces roughly 2 to 3 inches each.
Serve straight from the fridge for the best snap, or let sit at room temperature for 5 minutes if you prefer it slightly softer.


Leave a Review