-
Prep Time10 Minutes
-
Cook Time15 Minutes
-
Serving4
-
Serving Size1 Bowl
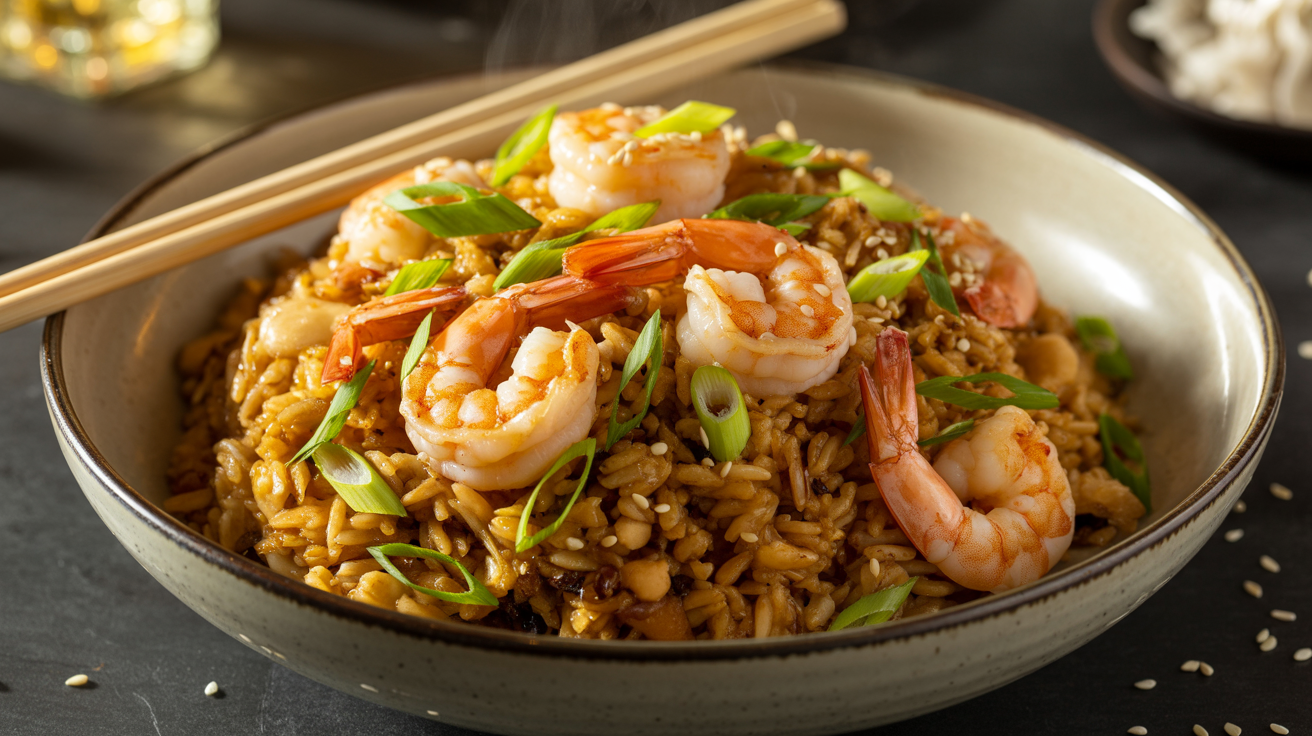
There’s something about shrimp fried rice that just hits differently than takeout. Whether you’re craving that smoky, savory wok flavor on a Tuesday night or you’ve got leftover rice sitting in the fridge begging to be used, this recipe is exactly what you need. It comes together in under 30 minutes with ingredients you likely already have on hand.
What makes this version so good is the technique — day-old rice, a screaming hot pan, and a little patience while the rice gets those golden, slightly crispy edges. The shrimp cook in under three minutes and soak up all that garlic, soy, and sesame flavor. It’s the kind of meal that feels like you ordered in, but tastes even better because you made it yourself.
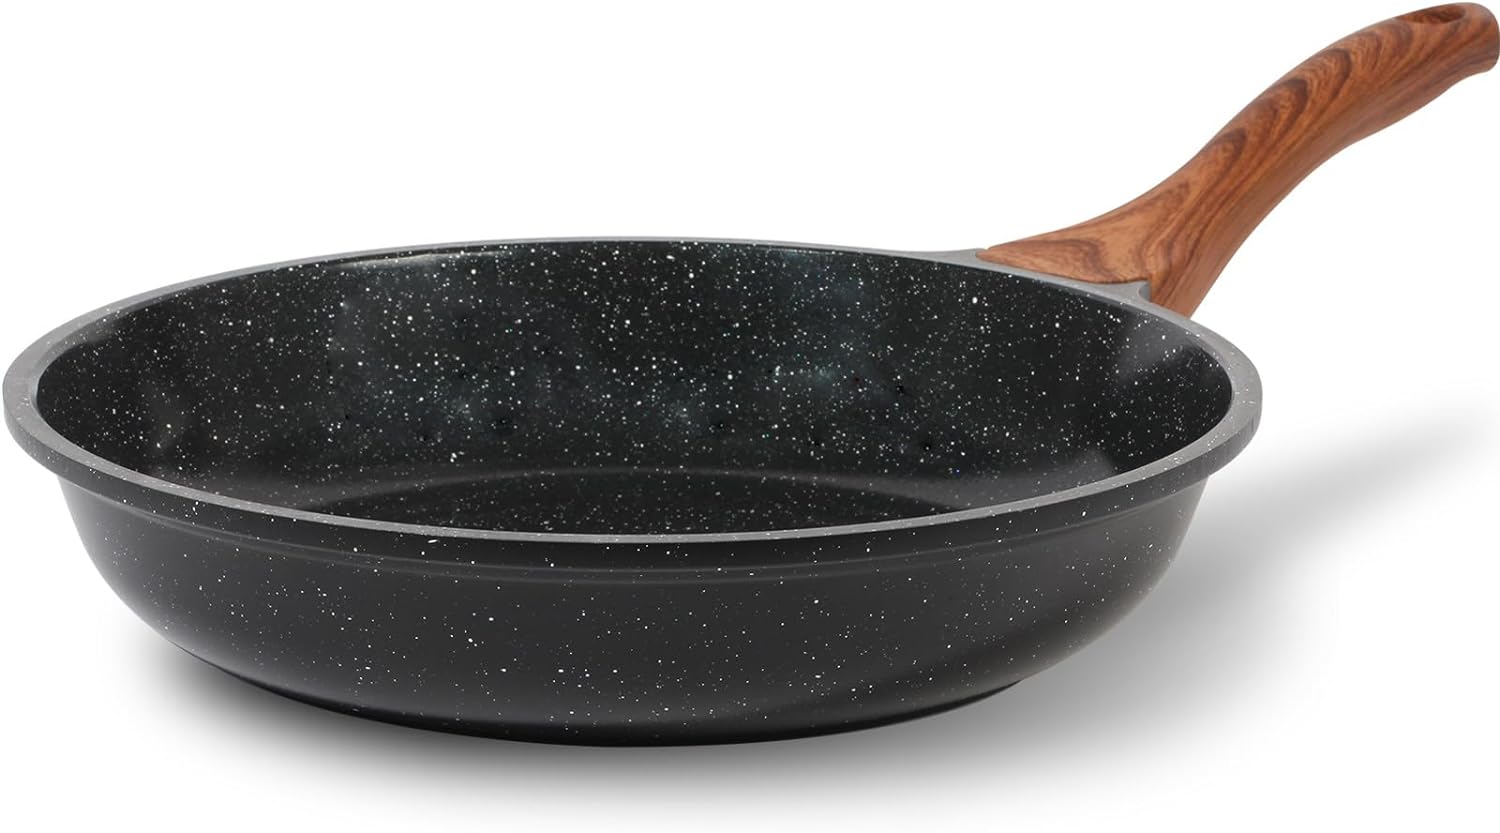
This recipe is beginner-friendly, endlessly customizable, and absolutely weeknight-approved. No wok required — a large skillet works perfectly. Once you make this at home, you’ll never spend $18 on delivery fried rice again.
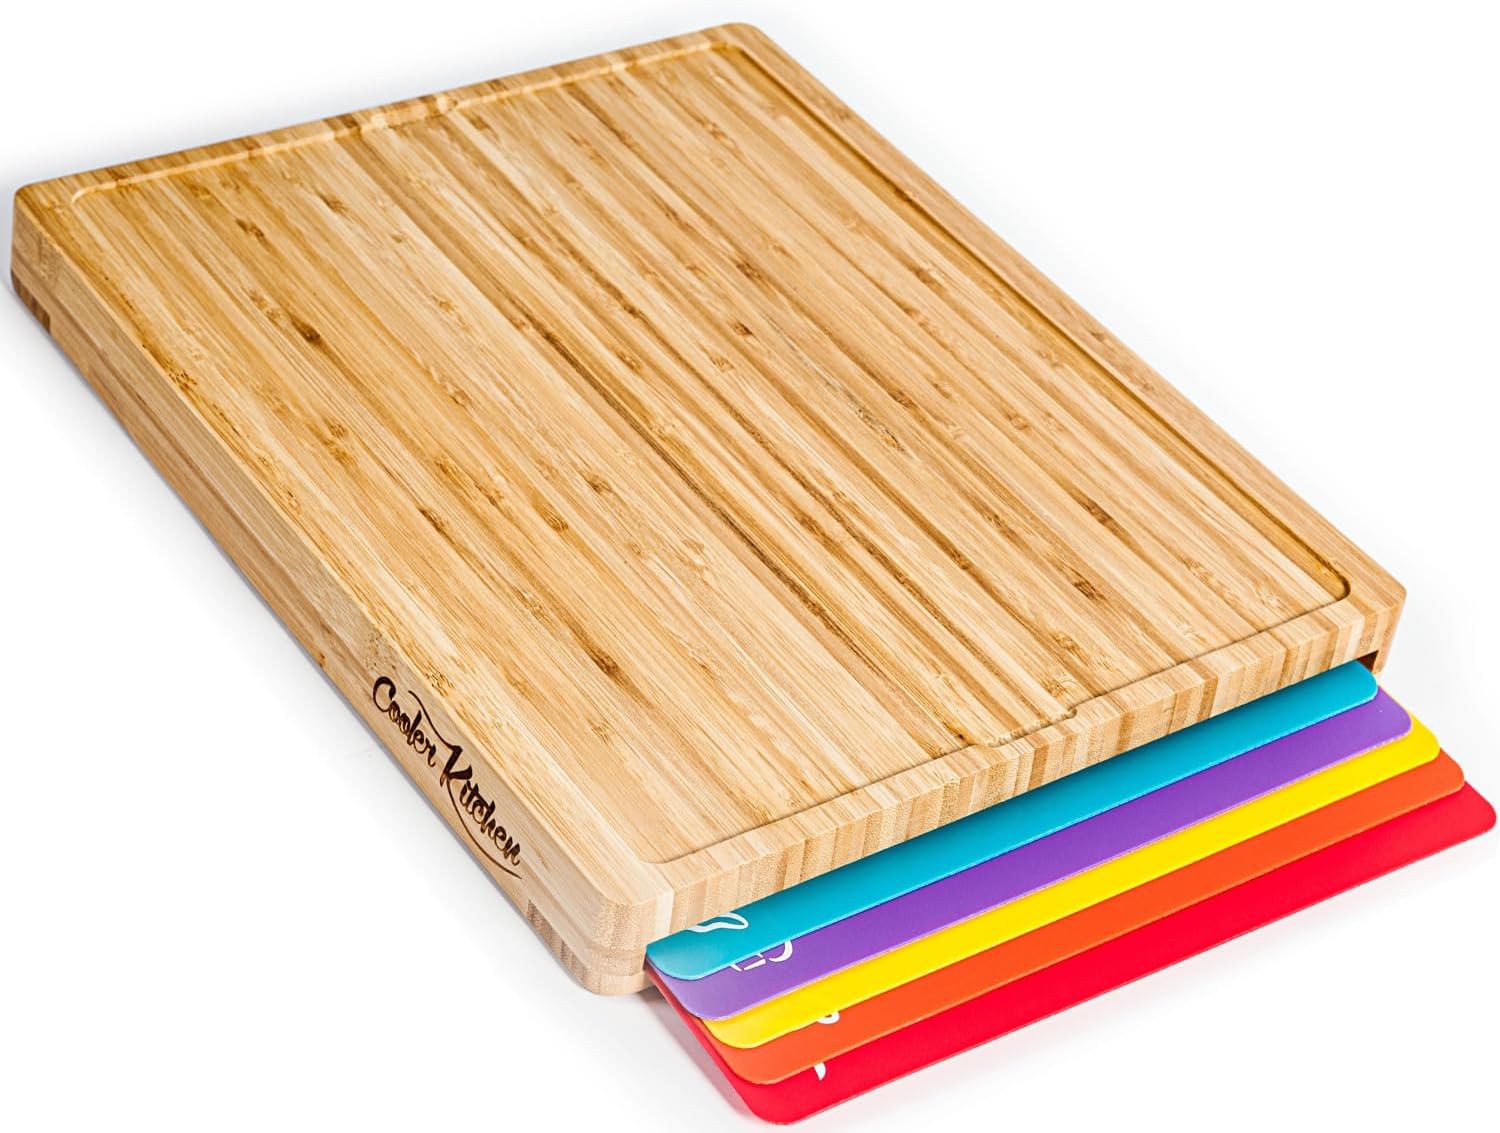
Helpful Products


Enter your email and we’ll send it straight to your inbox!
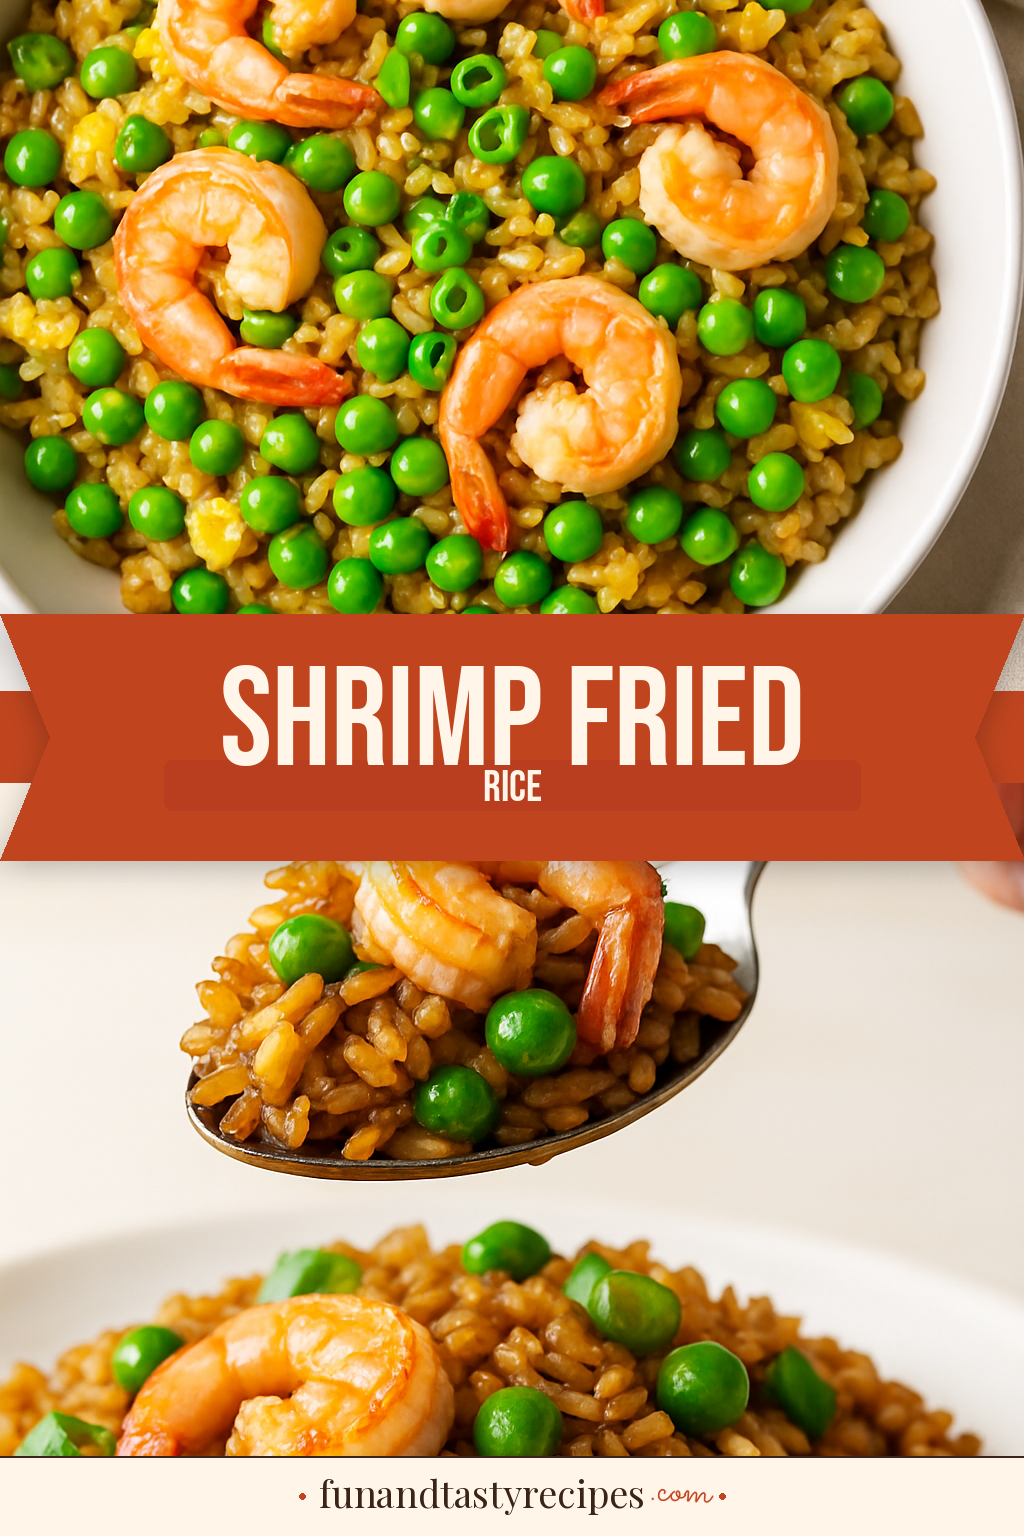
Love this recipe? Save it to Pinterest!
Did you make this recipe?
Leave a rating and let us know how it turned out! Your feedback helps other home cooks.
Ingredients
Shrimp Fried Rice
Nutrition
Per serving
- Daily Value*
-
Calories: 420 kcal
-
Protein: 32g64%
-
Carbs: 48g17%
-
Fat: 10g13%
-
Fiber: 3g11%
-
Sugar: 3g3%
-
Sodium: 890mg39%
Directions
This recipe moves fast on high heat, so have all your ingredients prepped and within arm's reach before you turn on the stove.
Step 1: Prep Your Ingredients
Pat the shrimp completely dry with paper towels — this is crucial for getting a good sear instead of steaming them.
Season the shrimp lightly with salt and white pepper and set aside.
Mince the garlic, slice the scallions (keep the white and green parts separated), and measure out your soy sauce, oyster sauce, and sesame oil into a small bowl so the sauce is ready to pour.
Step 2: Cook the Shrimp
Heat 1 tablespoon of vegetable oil in a large skillet or wok over high heat until it shimmers and just begins to smoke.
Add the shrimp in a single layer and cook without touching them for 60–90 seconds until the undersides turn pink and opaque.
Flip each shrimp and cook another 30–60 seconds until just cooked through — they should be pink all over with a light golden edge.
Transfer the shrimp to a plate and set aside. Don't overcook them here — they'll go back into the hot pan at the end.
Step 3: Scramble the Eggs
Reduce heat slightly to medium-high and add a small drizzle of oil to the same pan.
Crack in the eggs and let them sit for 10 seconds until the edges just start to set, then gently scramble them with a spatula into large, soft ribbons.
When the eggs are about 80% set (still slightly glossy and soft — they should not look dry), push them to one side of the pan.
Step 4: Sauté the Garlic and Aromatics
Add the remaining tablespoon of oil to the empty side of the pan and add the minced garlic and the white parts of the scallions.
Stir-fry for about 30 seconds until fragrant — the garlic should smell toasty and golden, not burnt.
Work quickly here, as garlic can go from golden to bitter in seconds on high heat.
Step 5: Fry the Rice
Add the cold day-old rice to the pan, breaking up any clumps with your spatula as it hits the heat.
Spread the rice into an even layer and press it down slightly into the pan — then let it sit undisturbed for 60 seconds so the bottom layer starts to crisp up.
Toss and stir, then press and let it sit again for another 30–45 seconds. Repeat this press-and-toss method 3–4 times over about 3–4 minutes until the rice smells slightly nutty and has some lightly golden, separated grains.
Step 6: Add the Sauce and Peas
Pour the combined soy sauce and oyster sauce evenly over the rice and toss everything together until every grain is coated and the rice turns a deep golden-brown color.
Add the frozen peas (no need to thaw) and stir them in — they'll thaw in about 1 minute from the residual heat.
Fold the scrambled eggs back into the rice, breaking them up slightly as you mix.
Step 7: Return the Shrimp and Finish
Add the cooked shrimp back into the pan and fold them gently into the rice, just until everything is combined and the shrimp are heated through — about 1 minute.
Remove the pan from heat and drizzle the sesame oil over the top, then toss one final time.
Taste and adjust seasoning — if it needs more salt, a tiny splash more soy sauce does the job perfectly.
Step 8: Garnish and Serve
Transfer the shrimp fried rice to bowls and scatter the green parts of the scallions generously over the top.
Add a sprinkle of sesame seeds if you have them — they add a tiny crunch and look beautiful.
Serve immediately while the rice is hot and slightly crispy at the edges.
Leave a Review