-
Prep Time15 Minutes
-
Cook Time90 Minutes
-
Serving4
-
Serving Size1 Piece
There’s something almost magical about sous vide chicken breast. If you’ve ever ended up with dry, rubbery chicken after following a recipe to the letter, this technique is going to change everything for you. Sous vide uses precise temperature-controlled water to cook the chicken perfectly all the way through—no guessing, no cutting it open to check, and no prayers that you didn’t overdo it. Every single time, you get juicy, tender, silky chicken that feels like it came out of a high-end restaurant kitchen.
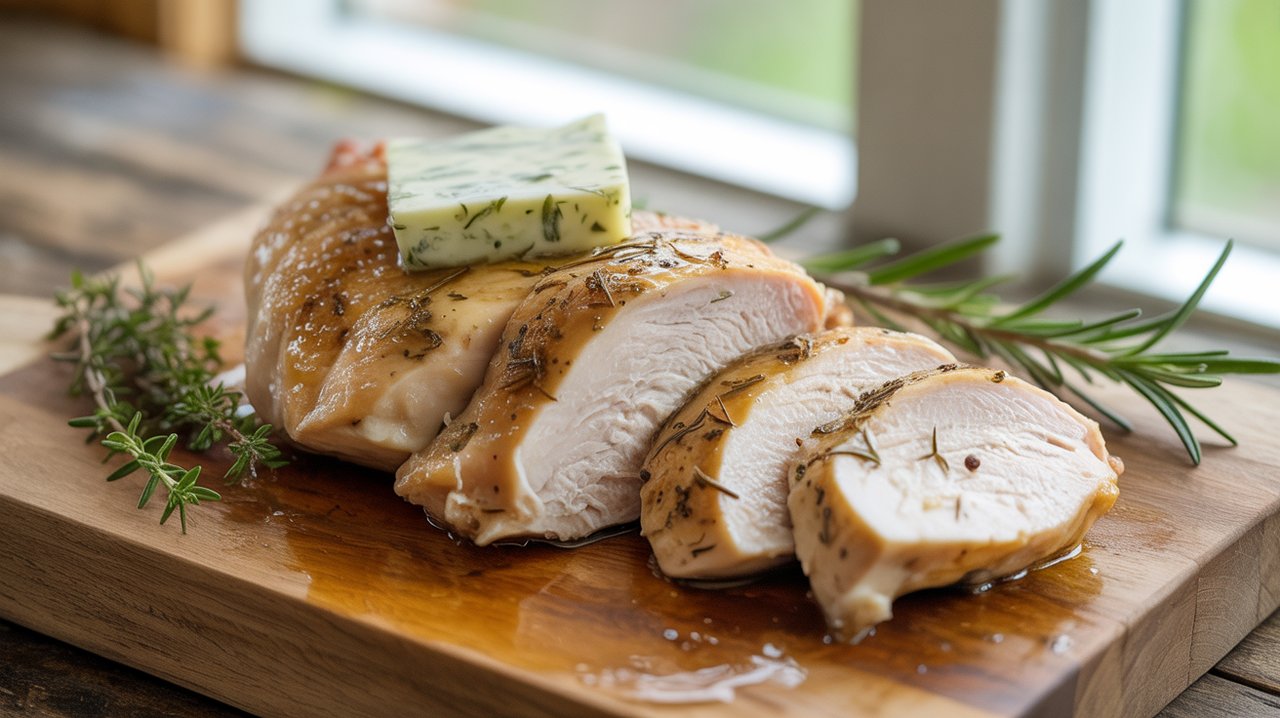
What makes this version extra special is the herb butter finish. After the chicken comes out of the water bath, it goes straight into a screaming-hot skillet for a quick sear that gives it those gorgeous golden edges. Then you baste it with a compound butter loaded with fresh garlic, thyme, rosemary, and parsley. The butter melts right into the seared surface, coats every inch, and creates something that tastes far more impressive than the effort required.
You don’t need fancy equipment beyond a sous vide circulator—which has become surprisingly affordable and easy to use. If you’ve got one sitting in a drawer collecting dust, today is the day to get it out. And if you’ve been eyeing one and wondering if it’s worth it, this recipe will answer that question with a resounding yes.
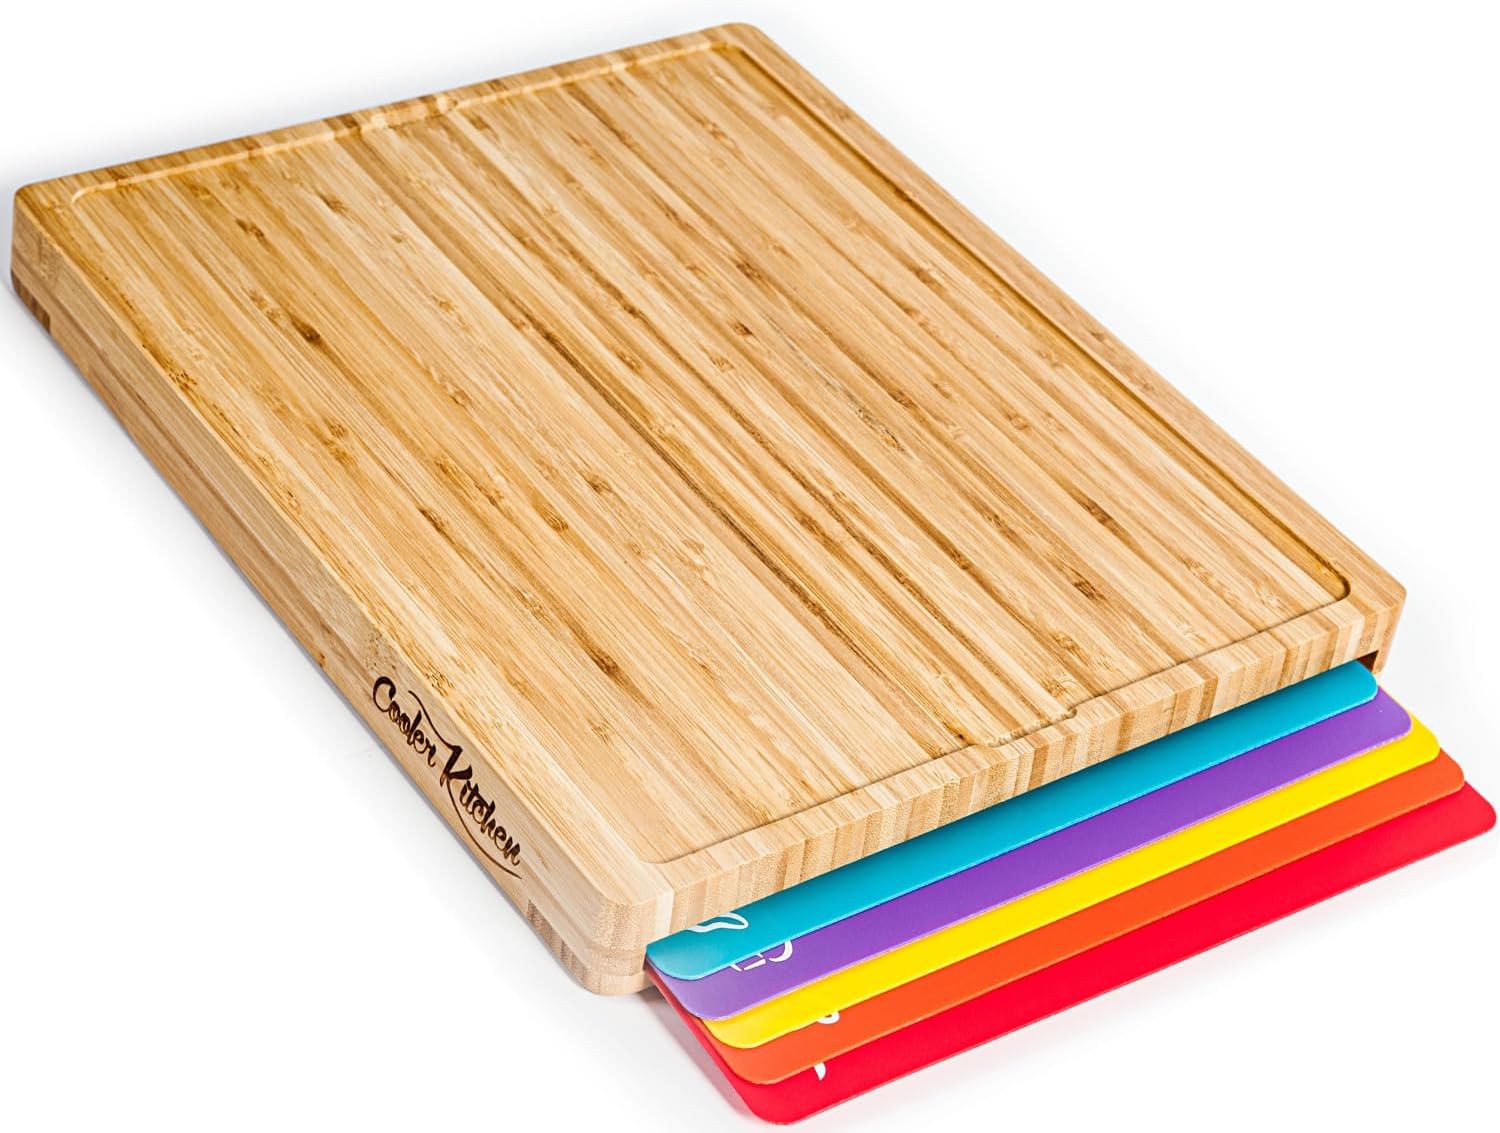
Helpful Products

Enter your email and we’ll send it straight to your inbox!
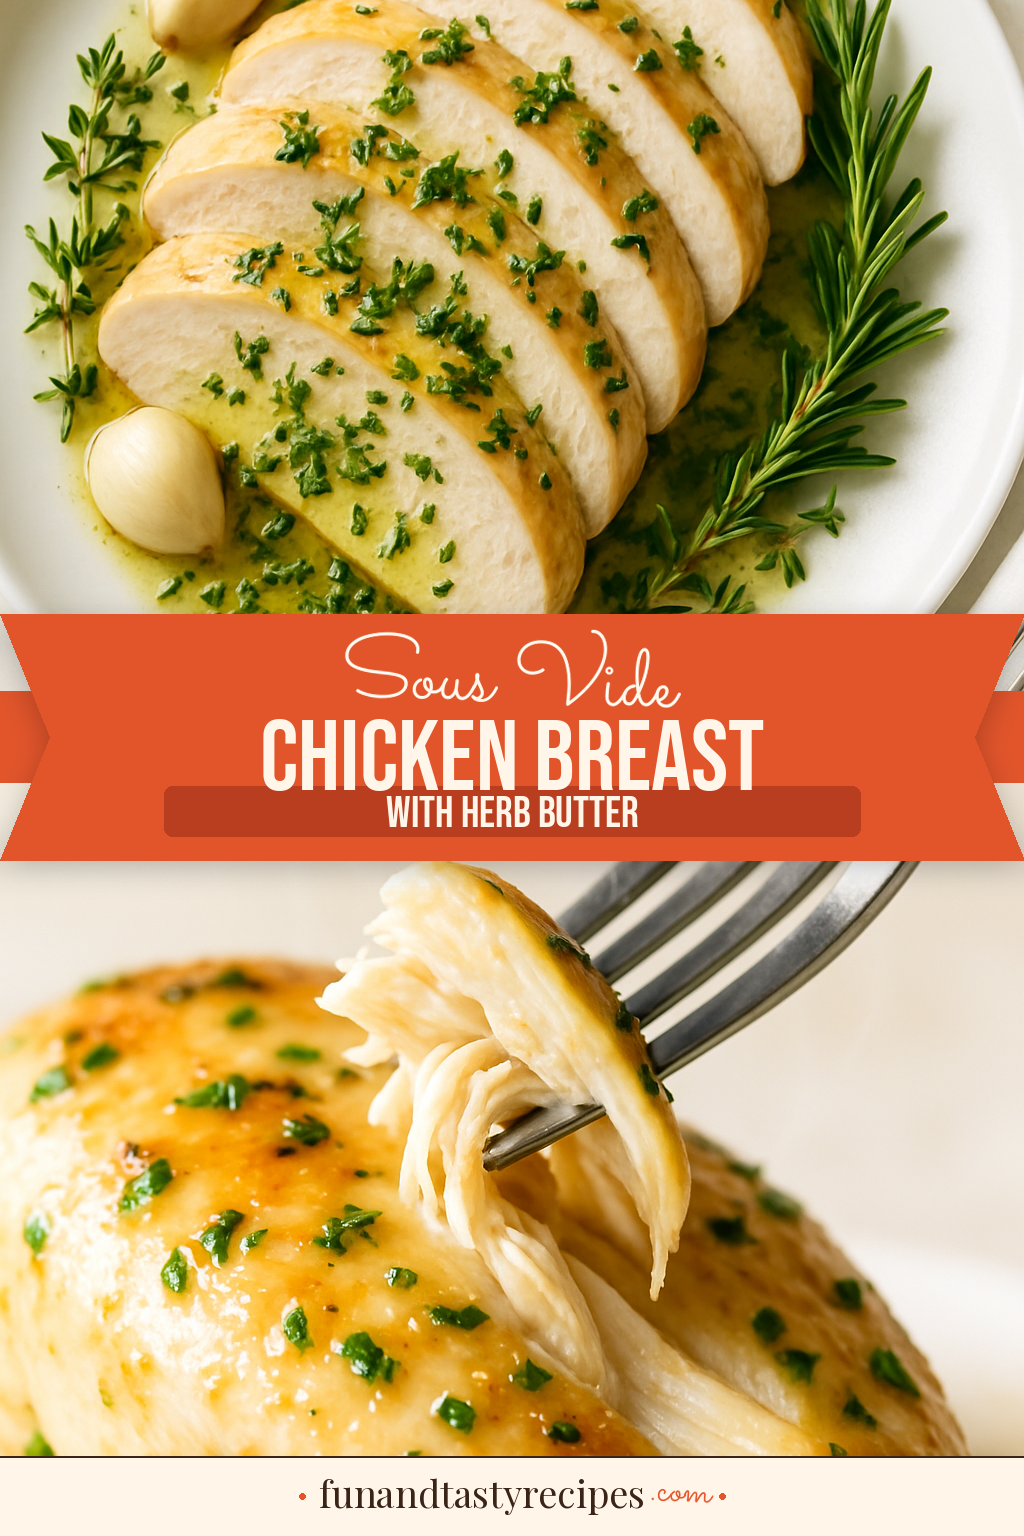
Love this recipe? Save it to Pinterest!
Did you make this recipe?
Leave a rating and let us know how it turned out! Your feedback helps other home cooks.
Ingredients
Sous Vide Chicken Breast with Herb Butter
Nutrition
Per serving
- Daily Value*
-
Calories: 320 kcal
-
Protein: 42g84%
-
Carbs: 2g1%
-
Fat: 16g21%
-
Fiber: 0g0%
-
Sugar: 0g0%
-
Sodium: 480mg21%
Directions
Cook the seasoned chicken in a precise 140°F water bath for 75 minutes, then sear quickly in a screaming-hot skillet and baste with fragrant garlic herb butter for a golden, flavor-packed finish.
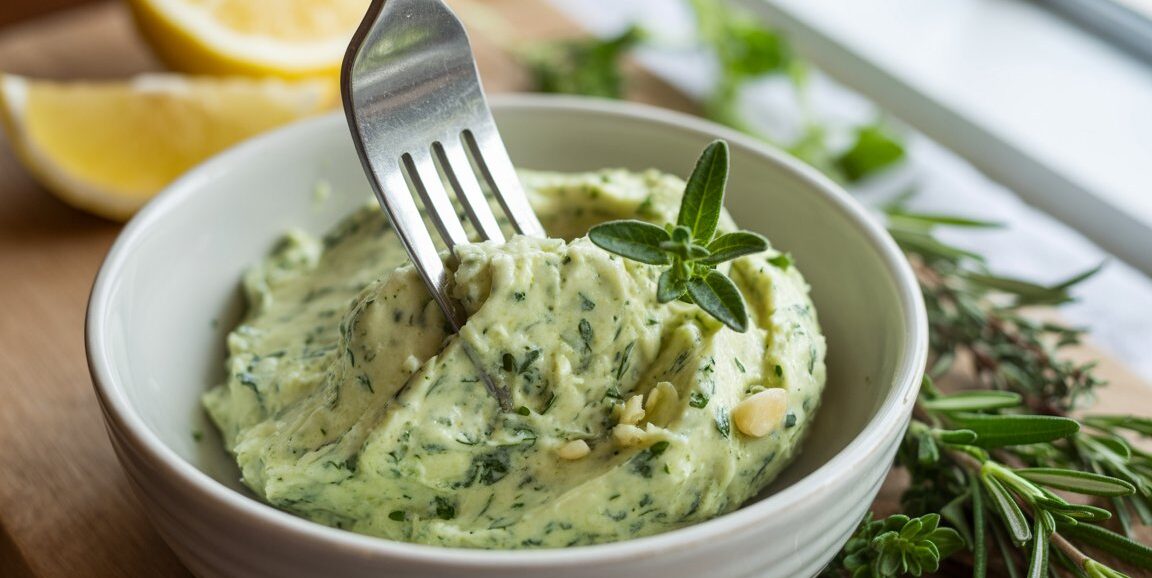
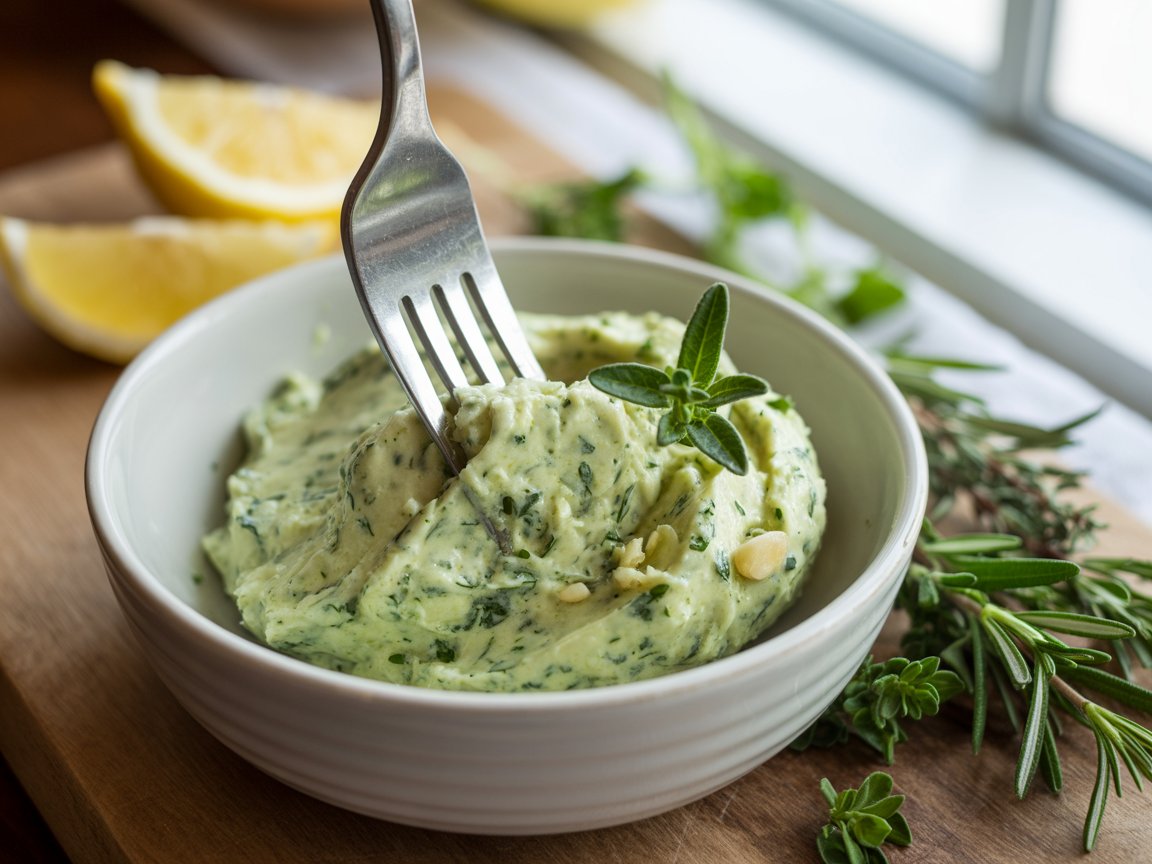
Step 1: Make the Herb Butter
In a small bowl, combine the softened butter, minced garlic, fresh thyme, rosemary, parsley, lemon zest, and salt.
Use a fork to mash everything together until fully blended and the herbs are evenly distributed throughout the butter.
Taste it — it should be fragrant, garlicky, and bright. Set aside at room temperature until ready to use.
Step 2: Season the Chicken
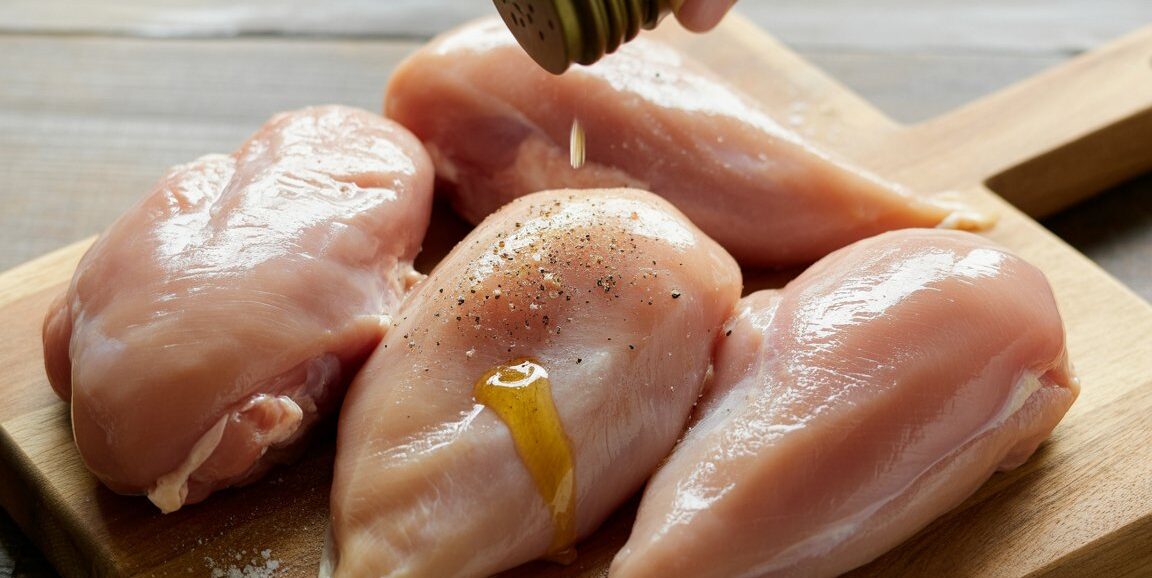
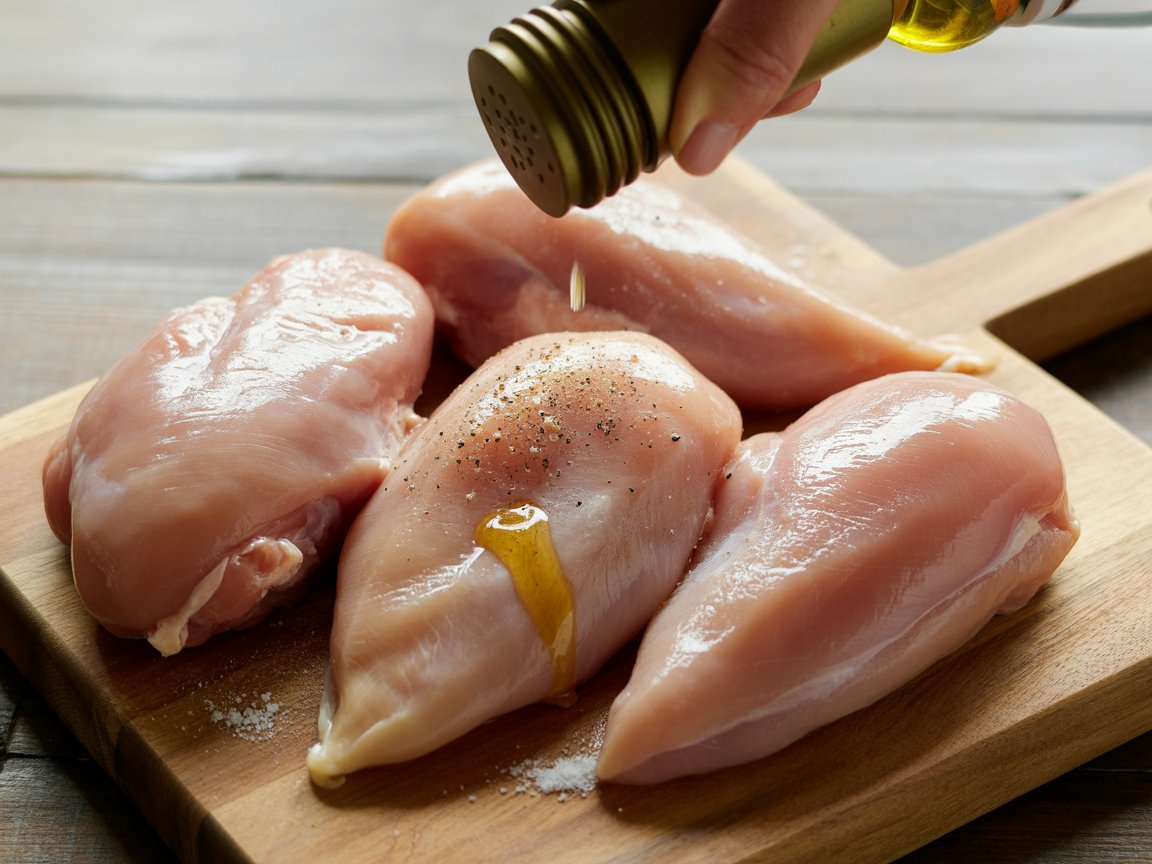
Pat each chicken breast completely dry with paper towels — moisture on the surface will dilute the seasoning and affect the sear later.
Season both sides generously with kosher salt, black pepper, and garlic powder.
Drizzle a small amount of olive oil over each piece and rub it in so the seasoning adheres well.
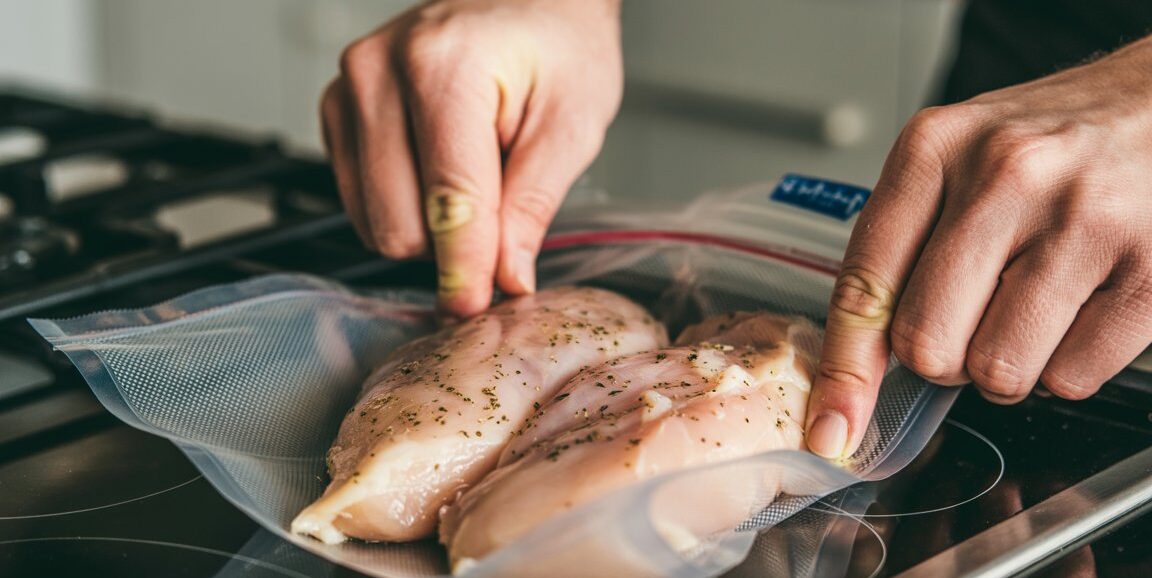
Step 3: Vacuum Seal the Chicken
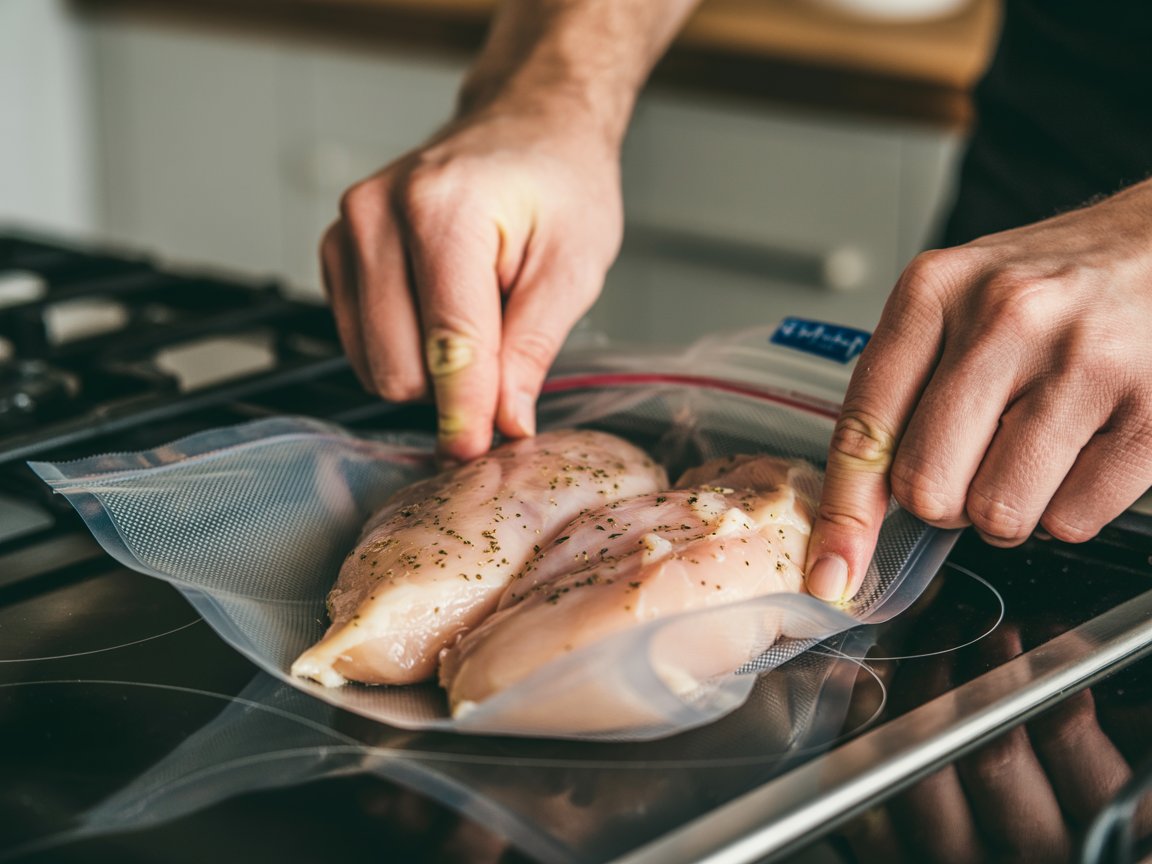
Place each seasoned chicken breast into a vacuum seal bag or a heavy-duty zip-lock freezer bag, leaving space between pieces if possible so they aren't stacked directly on top of each other.
If using a zip-lock bag, use the water displacement method: slowly lower the open bag into the water (not past the zipper), letting the water pressure push the air out, then seal it just before it reaches the waterline.
The goal is to remove as much air as possible so the bag clings tightly to the chicken — this ensures even heat transfer in the water bath.
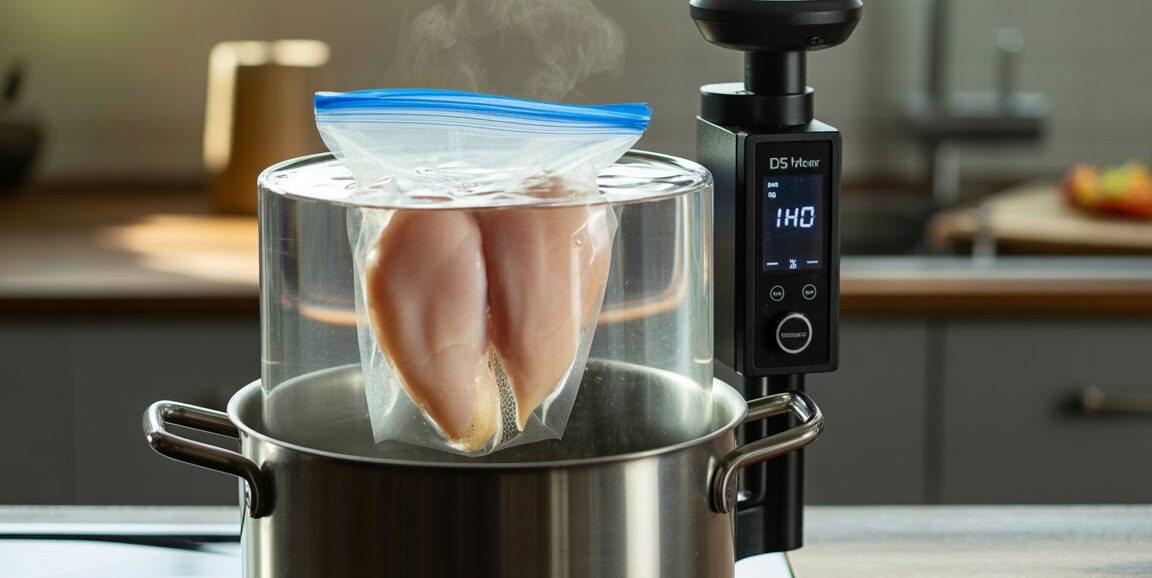
Step 4: Cook in the Water Bath
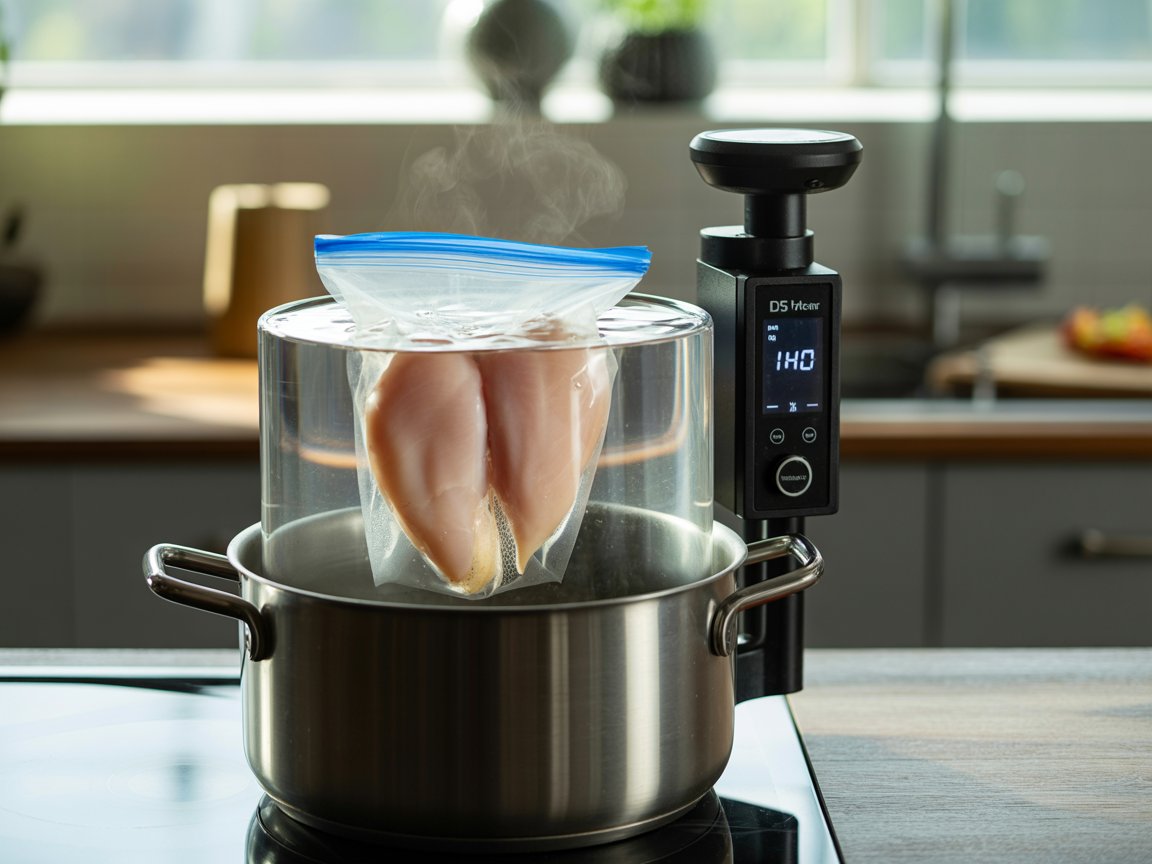
Fill a large pot or container with water and attach your sous vide circulator. Set the temperature to 140°F (60°C) for juicy, tender chicken with no pink — this is the sweet spot for chicken breast.
Once the water reaches temperature, submerge the sealed bag fully. Make sure the chicken stays below the waterline — clip the bag to the side of the pot if needed.
Cook for 1 hour and 15 minutes. Set a timer and walk away — the circulator handles everything.
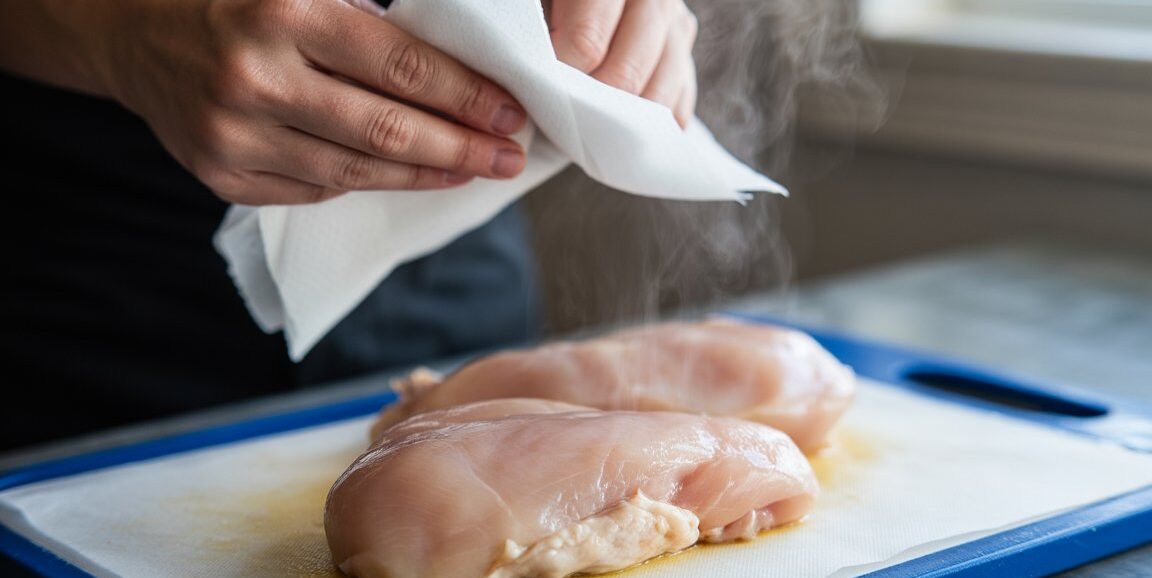
Step 5: Remove and Pat the Chicken Dry
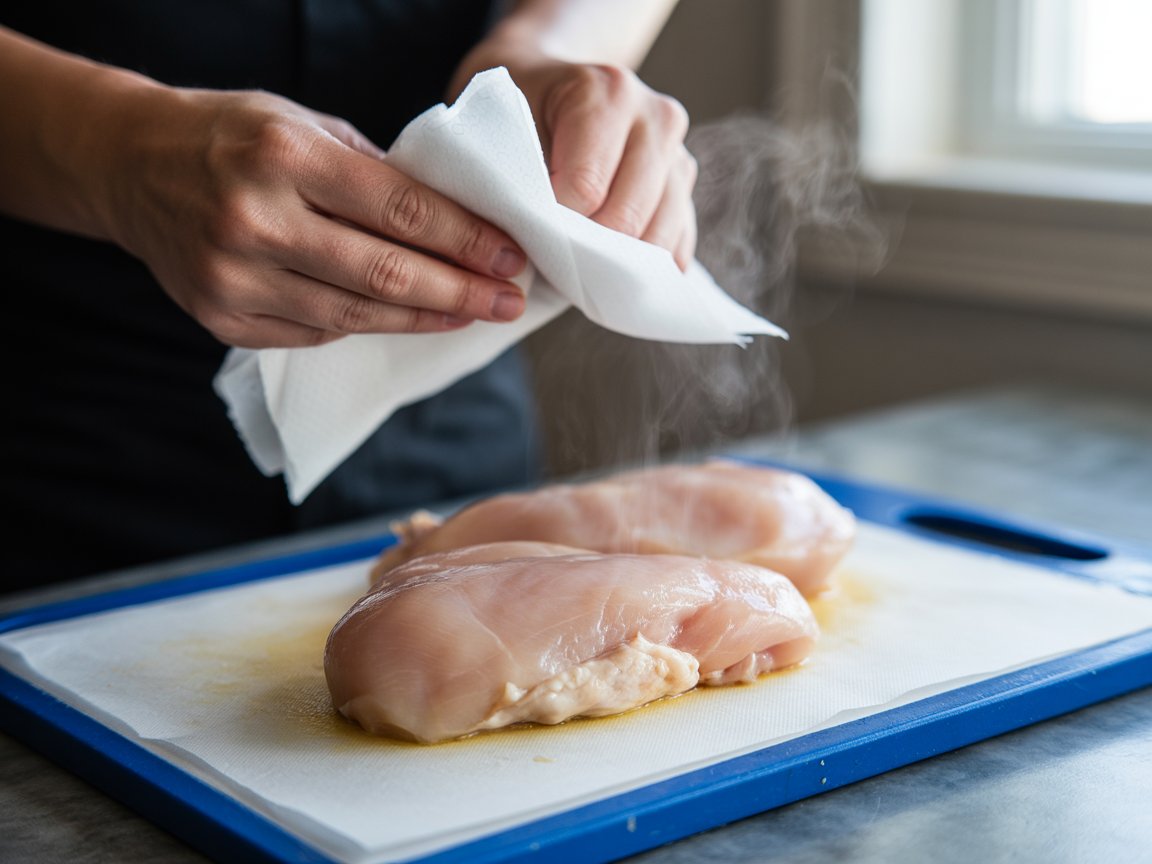
When the timer goes off, carefully remove the bag from the water bath and open it over the sink.
Transfer the chicken breasts to a plate lined with paper towels and pat them completely, thoroughly dry on all sides — this step is non-negotiable if you want a good sear.
Any moisture left on the surface will steam in the pan instead of sear, and you'll lose that beautiful golden crust.
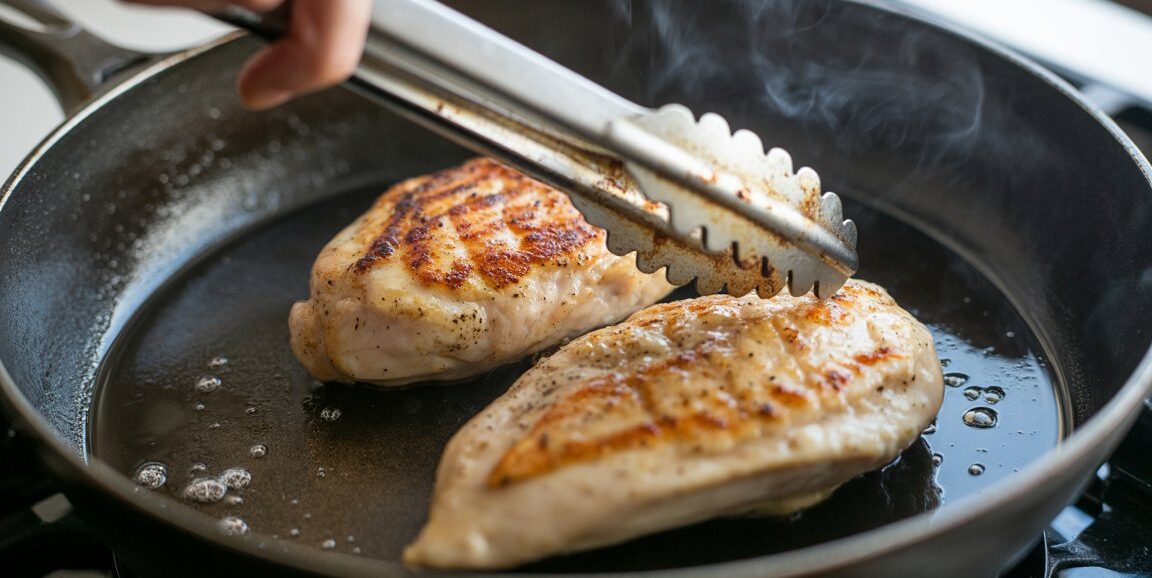
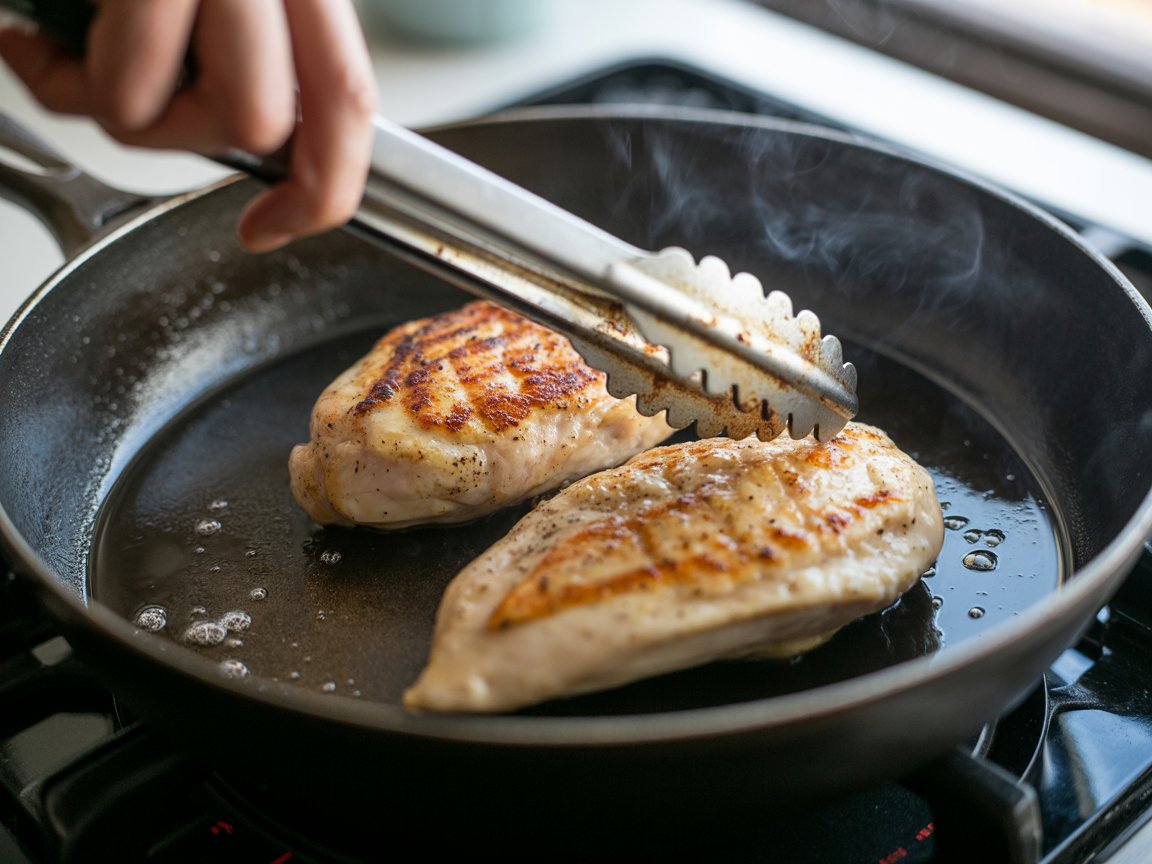
Step 6: Sear the Chicken
Heat a cast-iron or stainless steel skillet over high heat until it's very hot — a drop of water should evaporate immediately on contact.
Add a splash of olive oil, then carefully place the chicken breasts smooth side down. Press gently with a spatula so full surface contact is made.
Sear without moving for 60–90 seconds until a deep golden-brown crust forms, then flip and sear the other side for another 60 seconds.
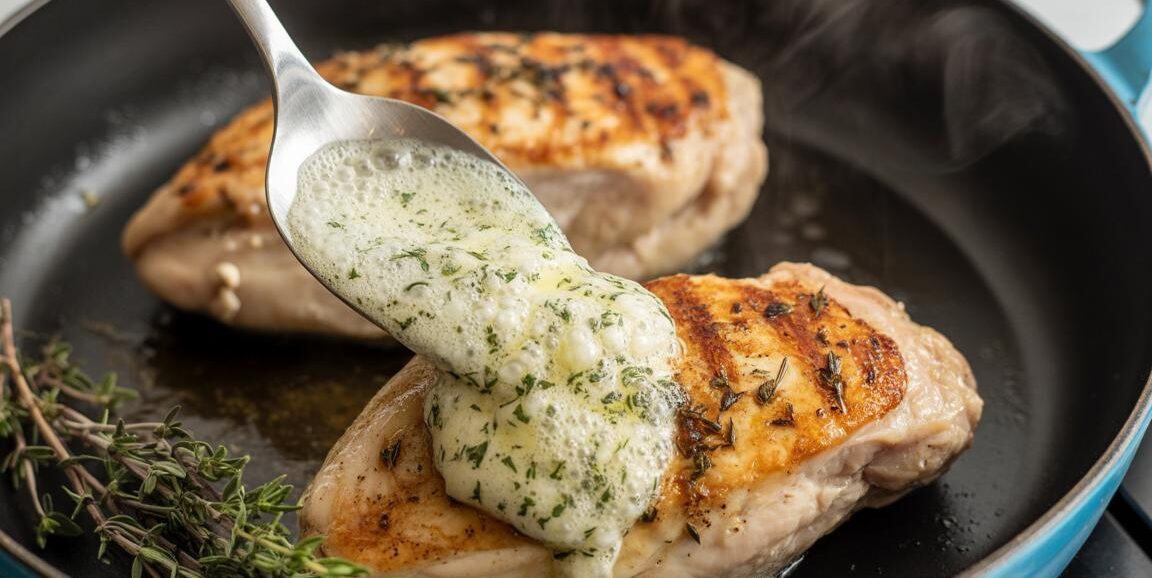
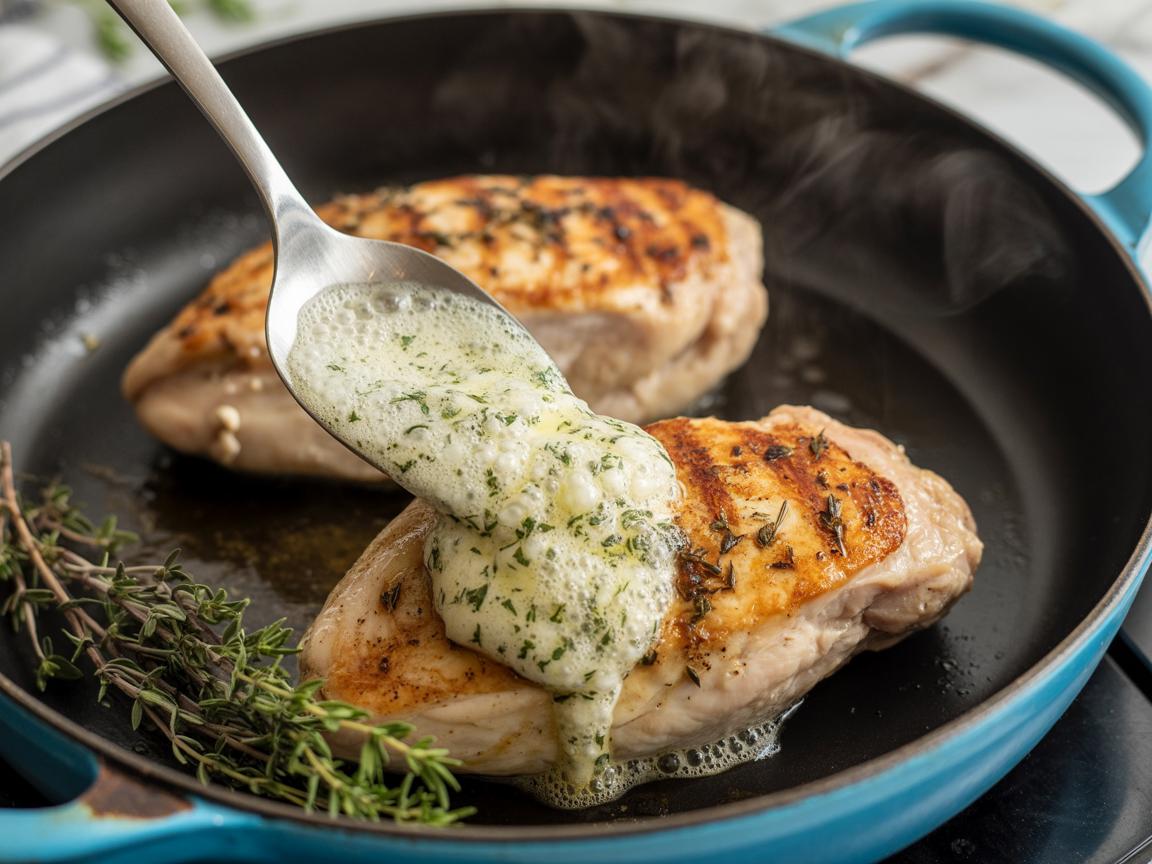
Step 7: Baste with Herb Butter
Reduce the heat to medium. Add the herb butter to the skillet right next to the chicken.
As the butter melts and begins to foam, tilt the pan slightly and use a spoon to scoop the melted butter over the tops of the chicken breasts continuously for about 60–90 seconds.
The garlic and herbs will toast lightly in the butter — you'll smell them blooming. This is the moment where all the flavor comes together.
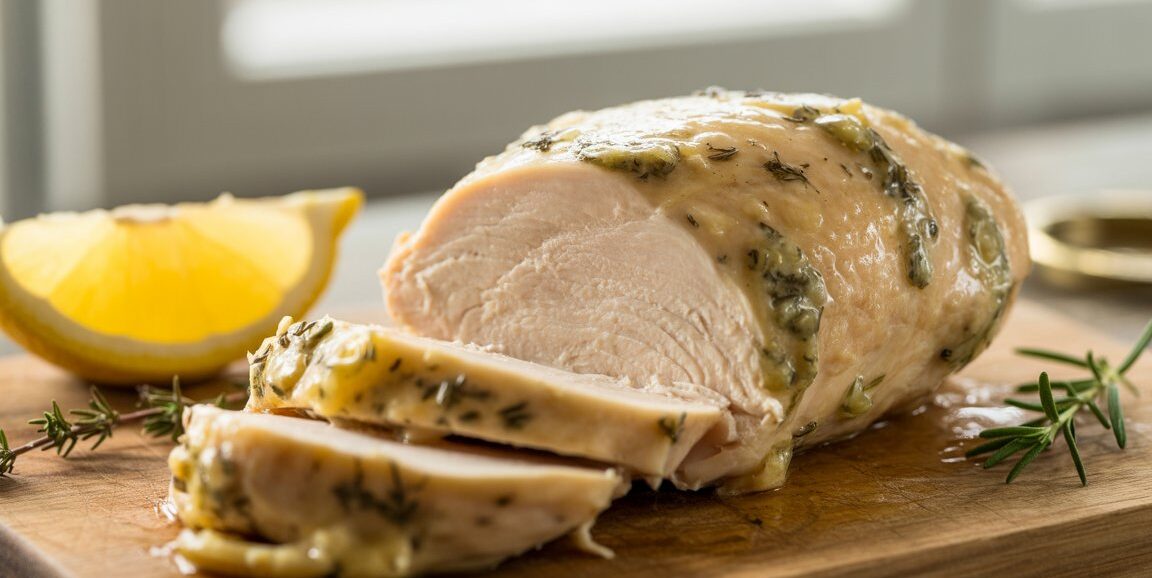
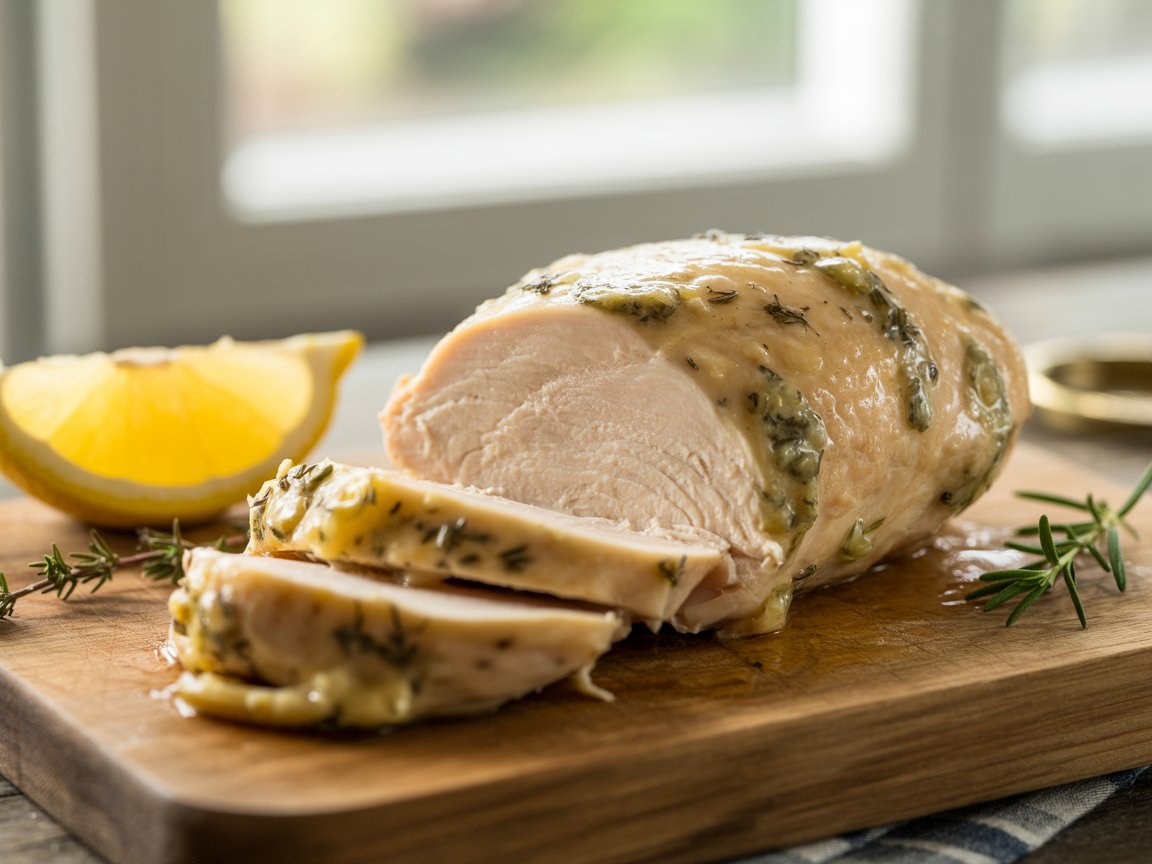
Step 8: Rest and Serve
Transfer the basted chicken breasts to a clean cutting board and let them rest for 3–5 minutes before slicing.
Slice against the grain on a slight diagonal to show off the interior — it should be fully opaque, juicy, and a consistent white-cream color all the way through with no dry edges.
Spoon any remaining butter from the pan over the top and serve immediately.
Leave a Review