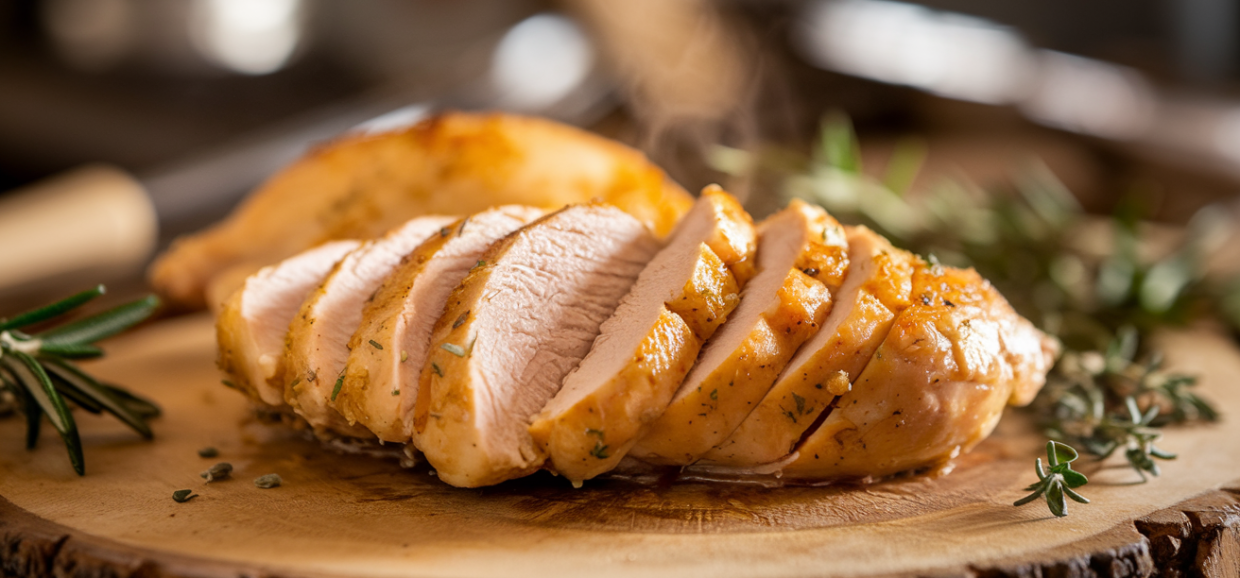
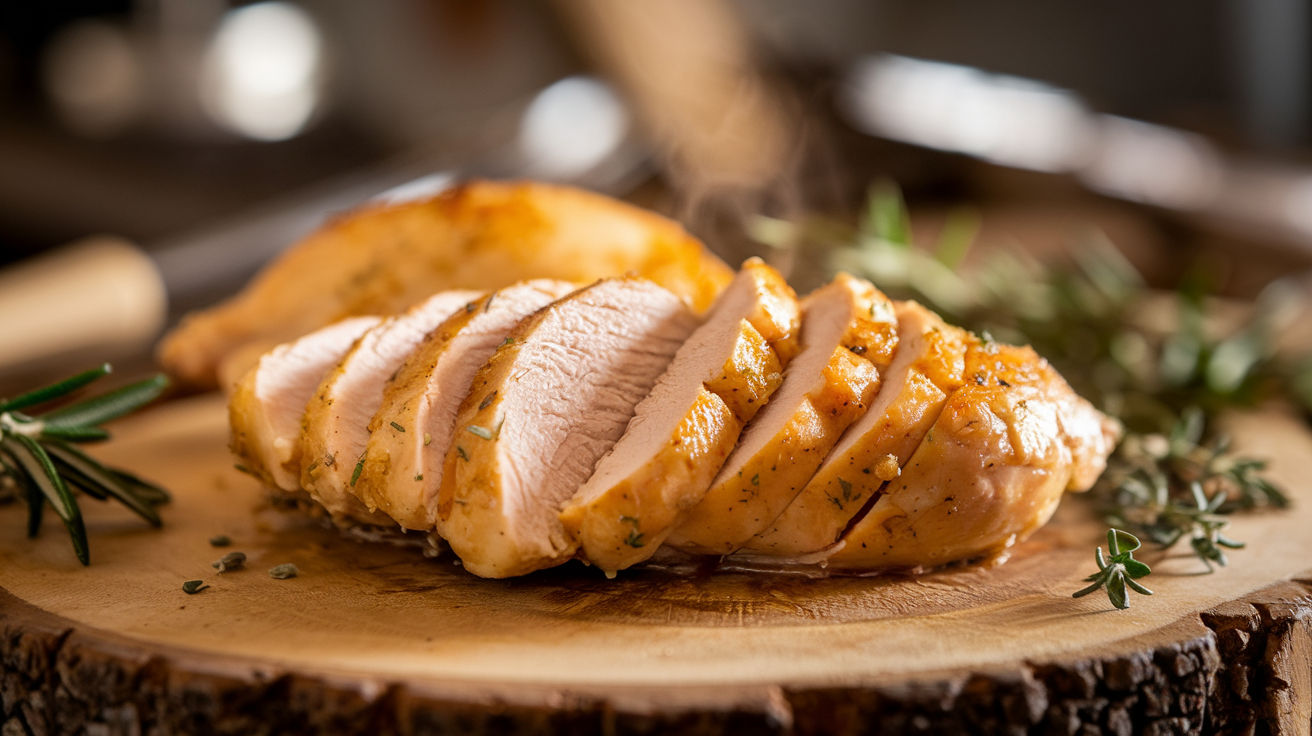
You follow the recipe. You cook the chicken until there’s no pink. You cut into it — and it’s dry, stringy, and about as appetizing as chewing a paper towel. This is one of the most common frustrations in home cooking, and the maddening part is that it keeps happening even when you think you’re doing everything right.
Here’s the truth: dry, tough chicken is almost always caused by one of three fixable technique problems — not the recipe, not the pan, not the chicken itself. Most advice online picks one cause and ignores the rest. This guide covers all three together, gives you the fix for each, and ends with a quick checklist you can run through before your next cook.
Get all three right, and you’ll never have to choke down dry chicken again.
Root Cause 1: You’re Cooking Past 165°F
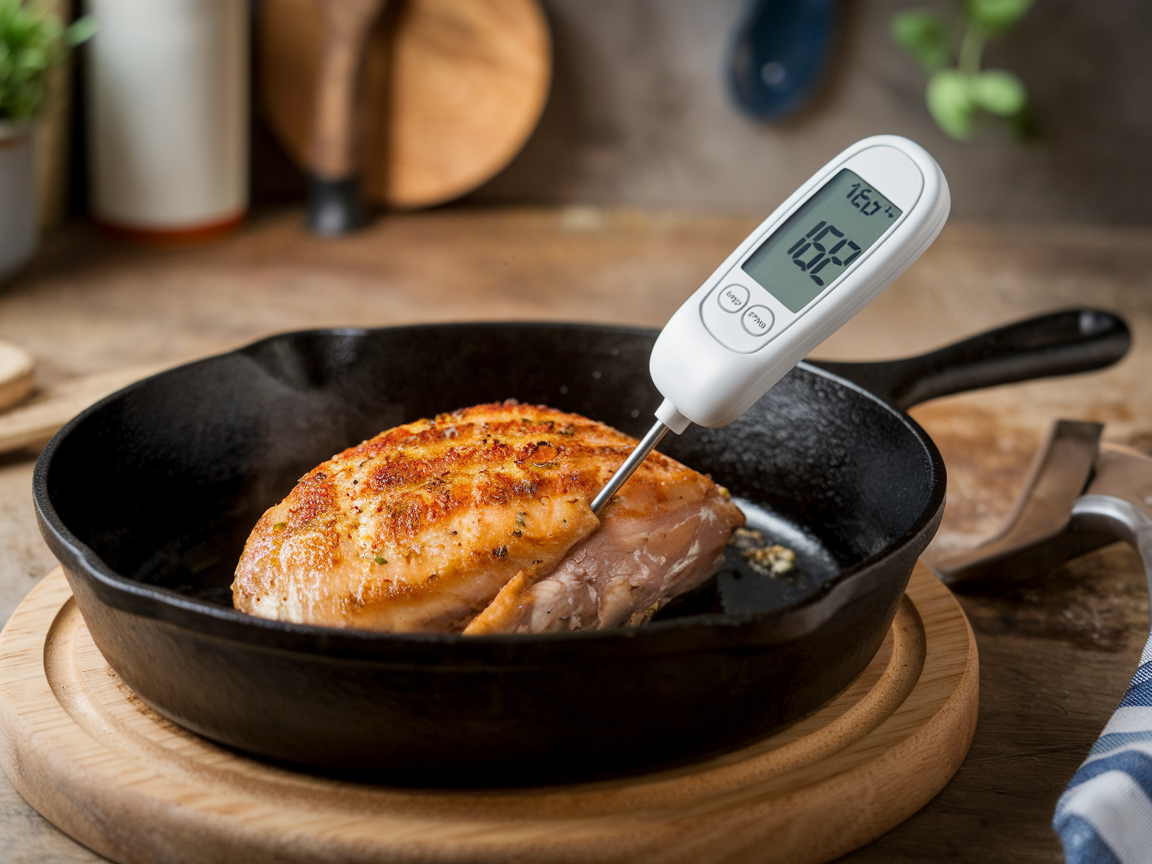
This is the single biggest cause of dry chicken, and it affects almost every home cook who doesn’t use a thermometer. Here’s why it happens: the safe internal temperature for chicken is 165°F (74°C). But the moment chicken passes that number and keeps cooking — even by a few degrees — moisture starts leaving the meat rapidly. At 175°F, a breast is noticeably drier. At 185°F, the texture becomes rubbery and tight.
The problem is how most people judge doneness. “Cook until no pink remains” is unreliable because color depends on myoglobin, not temperature — some chicken stays pink even when fully cooked. Time-based instructions (“bake 25 minutes”) are worse, because a 6-ounce breast and an 8-ounce breast cook at very different rates. Oven calibration varies. Starting temperature varies. Time cannot account for any of it.
The only fix that works every time is an instant-read thermometer. They cost $15 to $20 and pay for themselves the first time they save a meal. Insert it into the thickest part of the meat, avoiding bone. Pull the chicken at 160°F — it will carryover cook to 165°F during the rest (which leads directly to the next fix). Once you start cooking to temperature instead of time, overcooked chicken becomes nearly impossible.
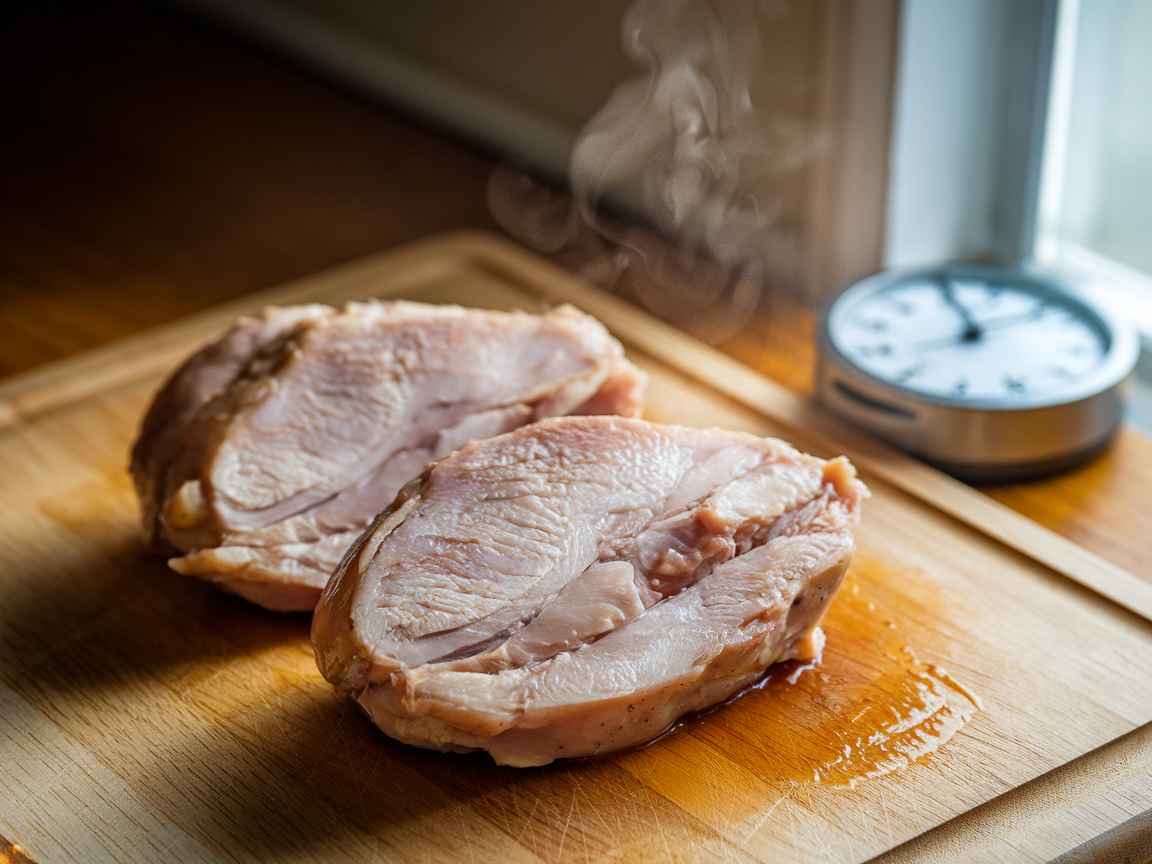
Root Cause 2: You’re Not Resting the Meat
Cutting into chicken the second it comes off the heat is one of the most common mistakes beginners make — and it’s easy to understand why. The chicken is hot, it smells great, and dinner is waiting. But that 5-minute wait is not optional. It’s where the difference between dry and juicy actually happens.
Here’s the science in plain English: during cooking, the heat causes proteins in the meat to contract and push moisture toward the center and out of the fibers. That moisture is under pressure when the chicken first comes off the heat. If you cut into it immediately, it has nowhere to go but your cutting board — which is exactly where you’ll see a flood of juice when you slice too early. The meat left behind is dry because all that liquid just left it.
Resting gives the proteins time to relax and reabsorb the moisture they’ve expelled. A boneless chicken breast needs 5 minutes of rest, uncovered, on the cutting board before you slice it. A thick bone-in piece or a whole chicken needs 8 to 10 minutes. No tent required for small cuts — just leave it alone. Set a timer if you’re the type to forget. That 5-minute wait is what keeps the juice in the meat instead of on the board.
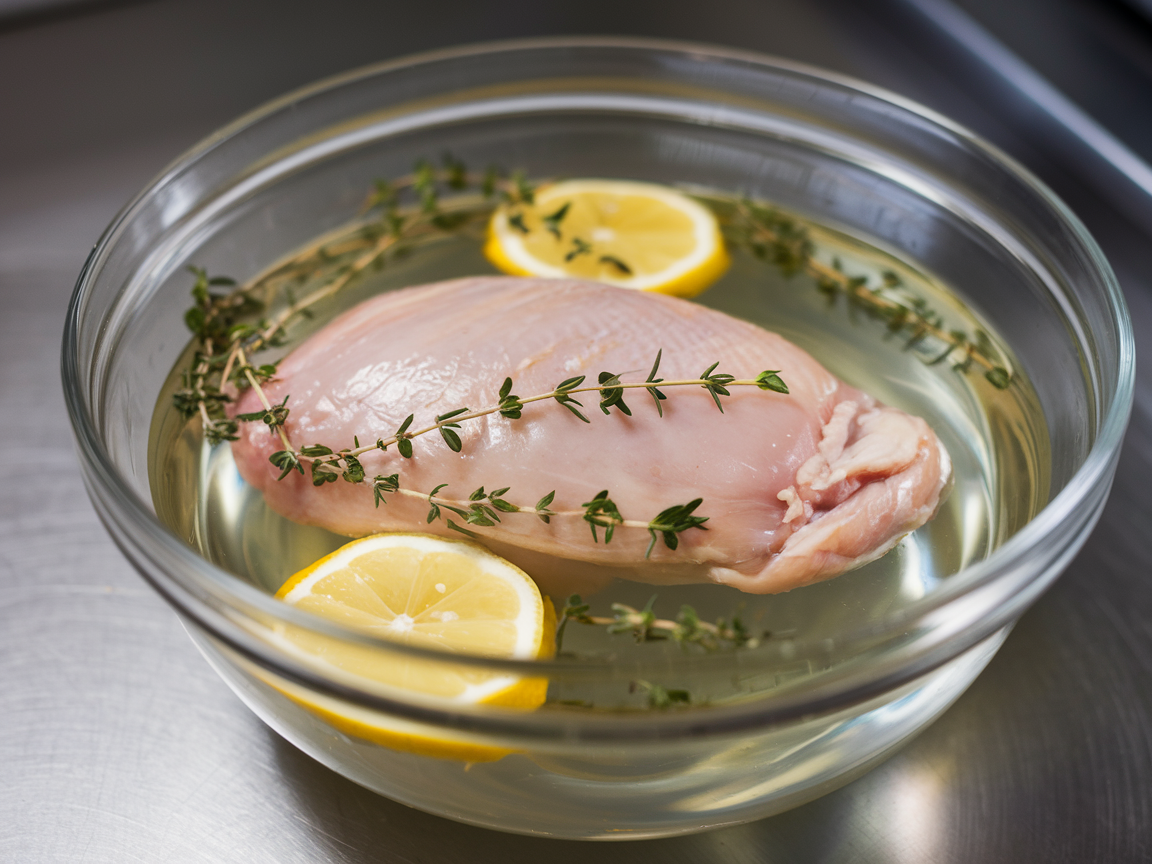
Root Cause 3: You’re Skipping the Brine (And the Fix)
This one catches people off guard. If you’re overcooking and not resting, fixing those two problems will get you most of the way there. But if you want the most reliably juicy chicken — especially from lean boneless breasts — a quick brine is the professional move that home cooks rarely use.
Brining works by altering the protein structure of the meat before cooking. Salt denatures the proteins slightly, loosening their grip on moisture. This means the meat can hold onto more juice during cooking, even if your timing isn’t perfect. You’re not just adding salt flavor — you’re changing the physical behavior of the meat.
You don’t need hours. A 15-minute quick brine works for boneless chicken breasts:
- Dissolve 1 tablespoon of kosher salt in 1 cup of cold water per breast
- Submerge the chicken completely
- Let it sit at room temperature for 15 minutes, or up to 4 hours in the refrigerator
- Remove and pat completely dry before cooking — this step is not optional
Chicken thighs benefit less from brining because their higher fat content already keeps them moist. Brining matters most for lean breast meat, which has no fat buffer to protect it from drying out. If you’re regularly cooking breasts for meal prep or weeknight dinners, this 15-minute step is worth making a habit.
The Thermometer Method: A Step-by-Step
If you’re not using a thermometer yet, here’s how to start — it takes about 10 seconds and removes all the guesswork from every chicken dish you’ll ever cook.
Insert the probe into the thickest part of the meat, going in from the side rather than the top so you get the reading at the center. Avoid touching bone — bone conducts heat faster than meat, so the reading near bone will be higher than the actual meat temperature. For chicken breasts, aim for the center of the thick end. For thighs, insert near the joint but not touching it.
Pull the chicken at 160°F. Transfer it to a cutting board immediately and let it rest — the carryover heat will bring it to 165°F within 2 to 3 minutes. This means you’re never overcooking just to be safe. You know exactly when to pull it, and the rest does the final work for you.
The Rest Rule: 5 Minutes That Change Everything
Rest every piece of chicken before slicing. Every time. This applies whether you’ve grilled it, baked it, pan-seared it, or pulled it from the slow cooker. The cooking method doesn’t change the physics of how protein and moisture behave after heat.
For boneless breasts and thighs, 5 minutes uncovered is enough. For thick bone-in pieces like split breasts or whole thighs, 8 minutes. For a whole roast chicken, 10 to 15 minutes. You don’t need to do anything special — just put it on the cutting board and leave it. No foil tent needed for individual pieces, though tenting does help retain heat on larger cuts if you’re serving a crowd and need to keep things warm.
One practical note: the “rest” period is not when the chicken is still on the hot pan or in the oven. Heat transfer is still happening there. Rest means off the heat, on a cool surface, open to the air.
Frequently Asked Questions
Why is my chicken dry even though I didn’t overcook it?
If the thermometer read correctly and you still got dry chicken, the most likely culprit is not resting. Even 1 to 2 minutes of rest makes a measurable difference — cut it immediately and you lose a significant amount of juice to the board. Another possibility: the chicken was already starting from a disadvantaged position (old, previously frozen, or a very lean variety). Brining helps most in these situations.
Does brining actually make a difference?
Yes — especially for lean chicken breasts. A controlled 15-minute brine produces noticeably juicier, more evenly seasoned meat. The effect is less dramatic on thighs because fat provides natural moisture protection. If you’re skeptical, brine one breast and cook one plain side by side and compare. The difference is visible when you cut into them.
Should I use a wet brine or dry brine?
For quick cooking (under 30 minutes), a wet brine (salt dissolved in water) works faster. For overnight prep or a roast chicken, a dry brine (salt rubbed directly on the surface, uncovered in the fridge) produces crispier skin and similar moisture benefits. For everyday weeknight chicken breasts, wet brine is easier and faster.
How do I know when chicken is done without a thermometer?
Honestly? You can’t know with certainty. The best non-thermometer method is the poke test — chicken that’s done feels firm but springs back slightly when pressed at the thickest point, not soft and yielding like raw meat. You can also pierce the thickest part and check that the juices run clear, not pink. But neither method is as reliable as a thermometer for $15. It’s worth buying one.
Why is chicken breast always drier than thigh?
Fat. Chicken thighs contain significantly more intramuscular fat than breasts, which lubricates the meat fibers during cooking and provides a buffer against drying out even when slightly overcooked. Breast meat has almost no fat and relies entirely on its moisture content — which means technique matters much more. Thighs are more forgiving of imprecise cooking; breasts require accuracy.
The Pre-Cook Checklist
Run through this before every chicken dish and dry meat becomes very difficult to produce:
- Brine boneless chicken breasts for 15 minutes in salted water, then pat completely dry
- Let refrigerated chicken sit at room temperature for 15 minutes before cooking
- Season after drying, not before — wet seasoning steams instead of sears
- Cook to 160°F on the thermometer, not to color or time
- Rest 5 minutes on the cutting board before slicing
These aren’t restaurant tricks — they’re basics that most recipes assume you already know but never explain. Once they become habit, you’ll stop thinking about dry chicken entirely. Browse our cooking mistakes archive for more fixes like this, or explore our chicken recipes to put these techniques into practice tonight.