Picture this: my first Sunday “meal prepping” was amidst fifteen open containers, half-chopped vegetables, and mounting panic. Despite watching countless YouTube tutorials, purchasing matching glassware, and printing seven recipes, I found myself exhausted by 3 PM. Half the meals were mediocre, and two containers of soggy rice hit the trash by Wednesday. Can you relate? The issue wasn’t meal prep itself — it was tackling everything at once instead of mastering the basics first.
Here’s what nobody tells you about meal prep: you don’t need to cook an entire week’s worth of elaborate meals on day one. You need to learn a few core techniques, make a handful of components that store well, and build from there. After years of weekly preps (and plenty of failures), I’ve nailed down exactly what beginners should make first, in what order, and how to avoid the mistakes that make people quit after one weekend. Grab a pen. This is the stuff I wish someone had told me from the start.
Step 1: Start with One Grain and One Protein — That’s It
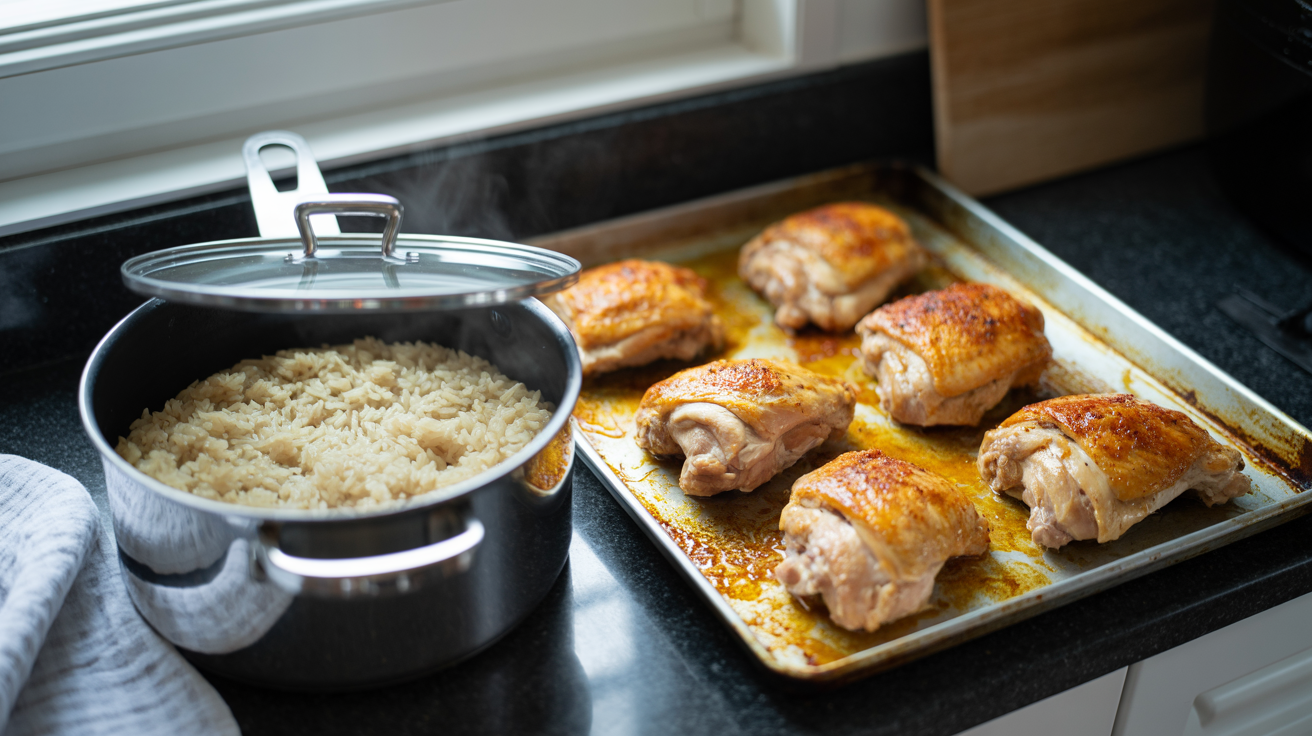
I know you want to prep five lunches, three dinners, and a partridge in a pear tree. Resist that urge. Your very first meal prep session should involve cooking one big batch of grain and one big batch of protein. That’s the entire assignment. I’m talking 3 cups of dry rice (which yields about 6-7 cups cooked) and 2 pounds of chicken thighs. Why thighs? They stay moist for days. Chicken breast dries out in the fridge faster than you can say “sad desk lunch.” Season the thighs generously with salt, pepper, garlic powder, and smoked paprika. Roast them at 425°F on a sheet pan for 25-30 minutes. For rice, use a 1:1.25 ratio of rice to water for jasmine rice in a pot with a tight lid. Once these two components are done, you can build meals all week — toss them into wraps, bowls, soups, or stir-fries. Do not overcomplicate your first week.
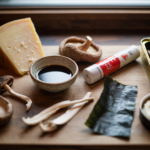
Step 2: Master a Sauce That Goes on Everything
Plain rice and plain chicken will bore you by Tuesday, and boredom is the number one reason people abandon meal prep. The fix? A versatile sauce you can drizzle, dip, or toss with anything. My go-to beginner sauce is a peanut-lime dressing: 1/3 cup creamy peanut butter, 2 tablespoons soy sauce, 1 tablespoon rice vinegar, juice of one lime, 1 teaspoon sriracha, and enough warm water (about 2-3 tablespoons) to thin it to a pourable consistency. Whisk it all in a mason jar. It takes four minutes. This sauce transforms cold rice and chicken into something you’ll actually *look forward to* eating. Keep it in a separate small container — never pour sauce directly onto food you’re storing, or you’ll end up with a soggy, sad situation by day three.
Step 3: Roast a Big Sheet Pan of Vegetables
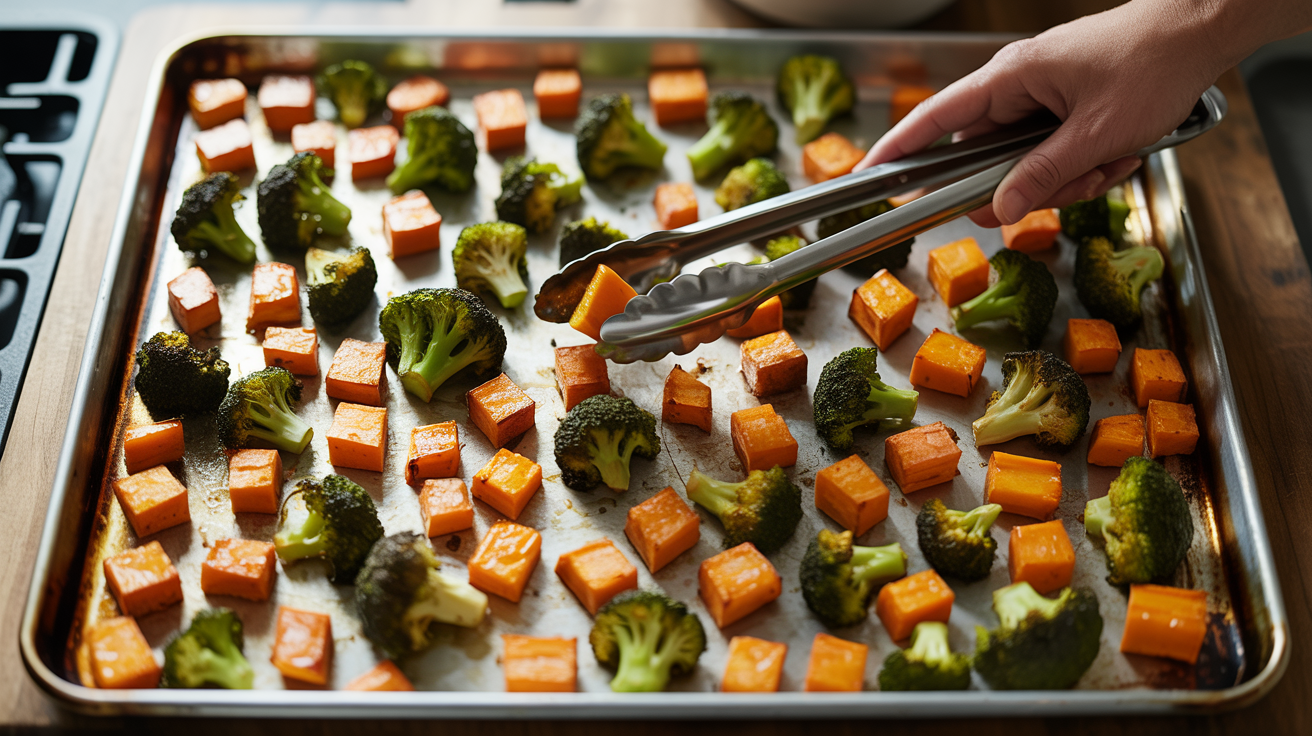
Here’s my rule: if you wouldn’t eat the vegetable cold or reheated, don’t prep it. Broccoli, sweet potatoes, bell peppers, zucchini, and cauliflower all reheat *beautifully*. Spinach? Not so much. Cut everything into similar-sized pieces — about 1-inch chunks — so they cook evenly. Toss with olive oil, salt, pepper, and spread them on a sheet pan in a single layer with space between pieces. This is the step most people mess up. Crowding the pan means your vegetables steam instead of roast, and steamed sheet pan vegetables taste like a school cafeteria smells. Use two pans if you need to. Roast at 425°F for 20-25 minutes, flipping once halfway through. You want golden-brown edges and a little bit of char. That caramelization is what makes you actually want to eat roasted broccoli on a Thursday.
Step 4: Prep Raw Ingredients You Can Grab Fast
Not everything needs to be cooked. Some of the most useful meal prep is just washing, chopping, and storing raw ingredients so they’re ready when you need them. I’m talking about dicing onions, mincing garlic, washing and chopping lettuce, slicing cucumbers, and portioning out snack vegetables like cherry tomatoes and snap peas. Store washed lettuce wrapped in a dry paper towel inside a container — it’ll stay crisp for five or six days. Pre-sliced onions go in an airtight container (double-bag them or your entire fridge will smell). If you’re ready to try an assembled meal, Mason Jar Salads with Chickpeas are a brilliant next step because the layering keeps everything fresh and crunchy until you’re ready to eat. Do not skip the raw prep. It’s the difference between cooking dinner in 15 minutes versus 40.
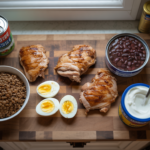
Step 5: Cook Eggs in Bulk (They’re Your Secret Weapon)
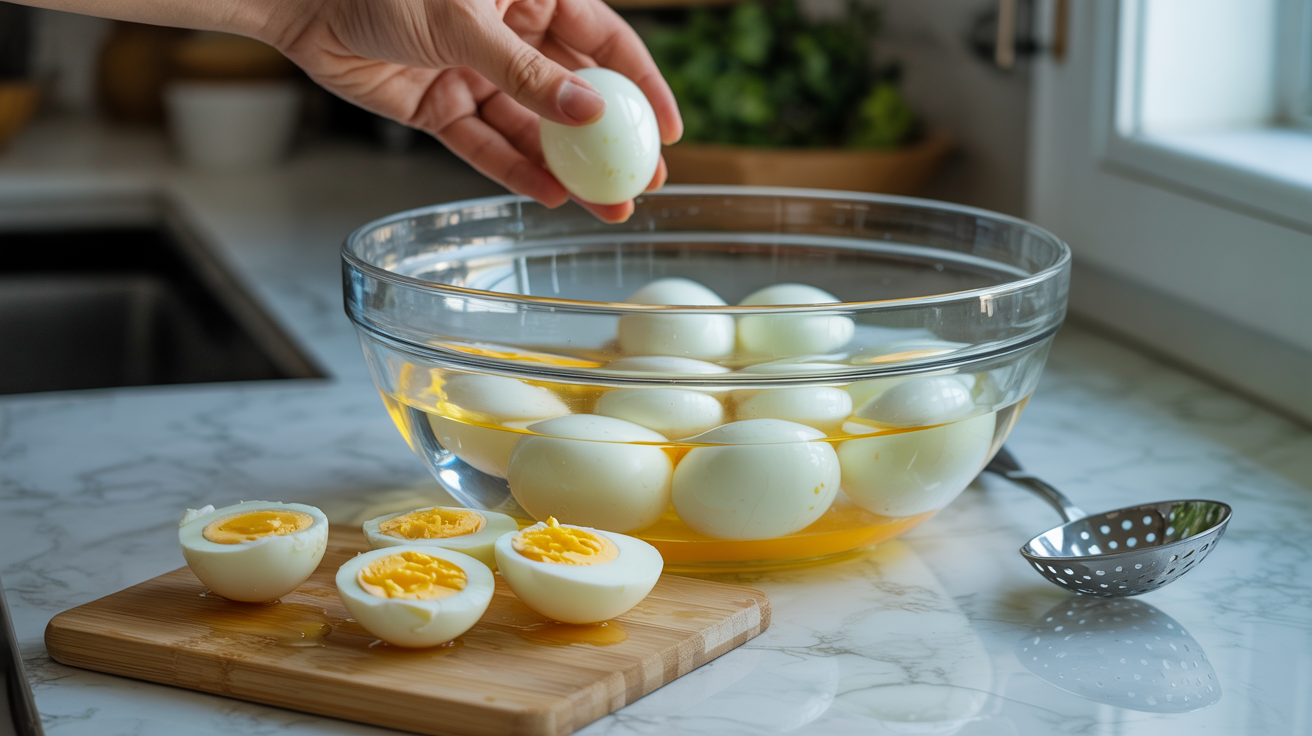
Do you ever scramble two eggs in the morning and think, “I really should have a better breakfast plan”? Eggs are the most underrated meal prep ingredient, and they keep in the fridge for up to a week when cooked right. Hard-boil a dozen at once: place eggs in a single layer in a pot, cover with cold water by one inch, bring to a rolling boil, then turn off the heat, cover, and let sit for exactly 10 minutes. Transfer immediately to an ice bath. Peel them when they’re cool — or don’t peel them until you’re ready to eat, which honestly keeps them fresher. Beyond hard-boiled eggs, try baking an egg muffin cup tray: whisk 8 eggs with salt, pepper, diced bell pepper, and a handful of shredded cheese, pour into a greased 12-cup muffin tin, and bake at 350°F for 18-20 minutes. You’ll have grab-and-go breakfasts that reheat in 30 seconds. That nutty, savory smell coming from the oven will make you feel like you have your life together, even if the rest of your kitchen is chaos.
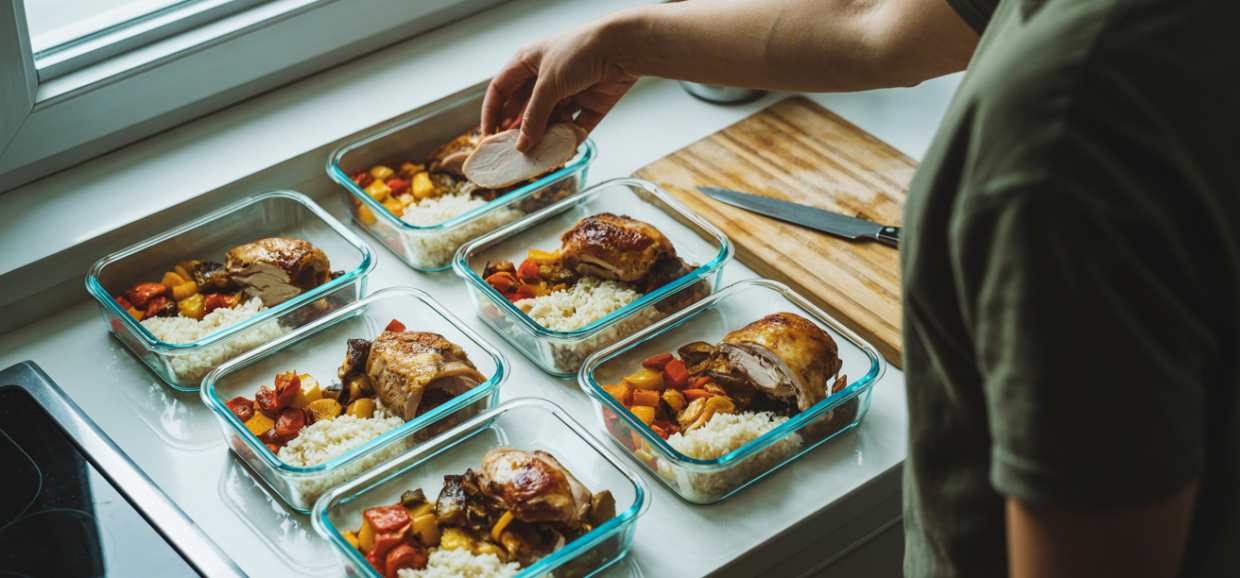
Step 6: Build Complete Bowls Using What You’ve Already Made
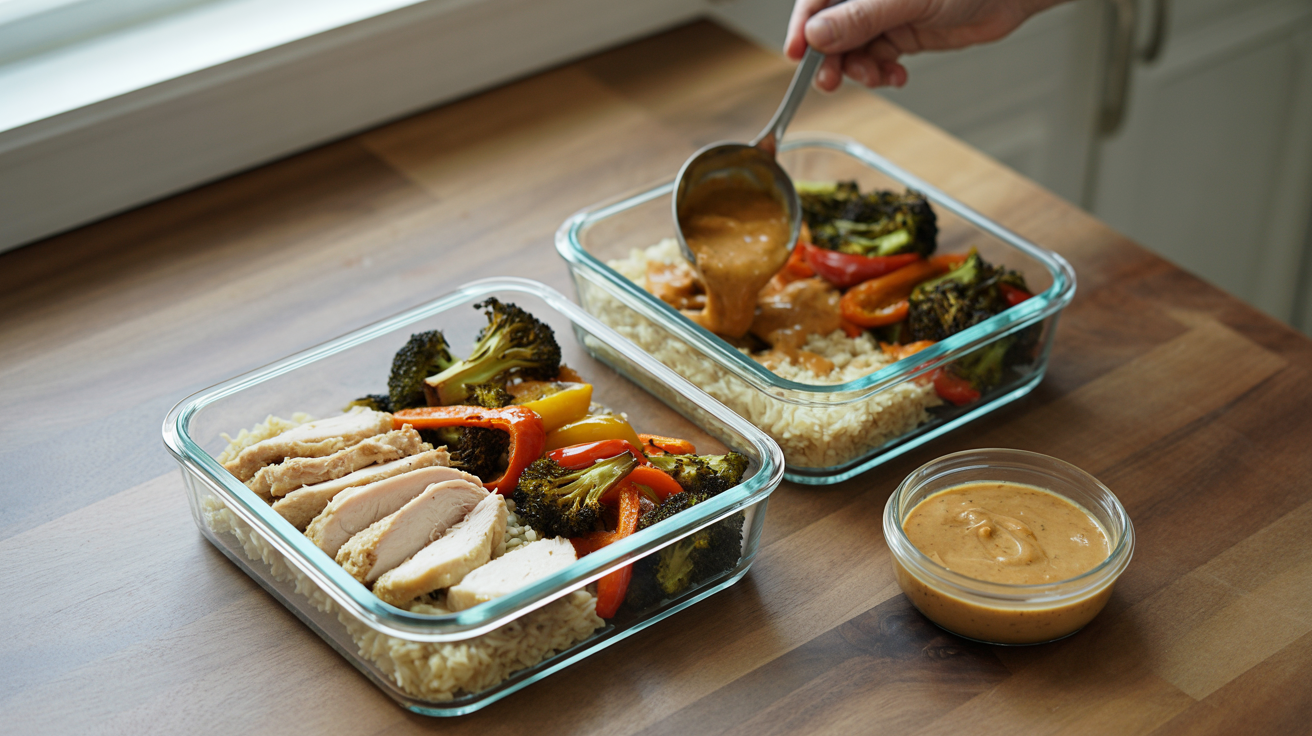
Now the fun part. Take everything from Steps 1 through 5 and assemble actual meals. Grab a glass container (I use 36-ounce rectangular ones — they fit perfectly in a work bag). Add a scoop of rice on one side, sliced chicken thigh on the other, roasted vegetables in the middle, and a small container of that peanut-lime sauce clipped to the lid or tucked alongside. That’s lunch, done. Swap the sauce for salsa and add black beans instead of rice, and now it’s a completely different meal. The whole idea is that components are more flexible than full recipes. When you’re feeling more confident, try assembling something like Greek Chicken Meal Prep Bowls, which use this exact same approach but with Mediterranean-inspired flavors that make your coworkers jealous. One base skill set, infinite combinations.
Step 7: Learn the Storage Rules That Keep Food Safe and Fresh
This is the step that separates people who meal prep successfully from people who end up tossing half their food. Do not put hot food directly into sealed containers. Let everything cool to room temperature first — about 20-30 minutes on the counter — then seal and refrigerate. Hot food in a closed container creates condensation, which creates sogginess, which creates sadness. Store cooked proteins and grains for a maximum of four days. If you want to prep for five or more days, freeze the last couple of portions and thaw them overnight in the fridge when you need them. Keep wet ingredients (sauces, dressings, juicy tomatoes) separate from dry ingredients until you’re ready to eat. Invest in quality glass containers with locking lids — I use the 6-pack Pyrex sets, and they’ve survived three years of weekly use. Label everything with masking tape and a marker: the name and the date. Future you will be *so* grateful.
Frequently Asked Questions
How long does meal prep take on a Sunday?
For a true beginner following this plan, expect about 90 minutes to two hours for your first session. That includes cooking rice, roasting chicken and vegetables, boiling eggs, making a sauce, and chopping raw ingredients. By your third or fourth week, you’ll get this down to about an hour because you’ll develop a flow — rice simmers while chicken roasts while you chop vegetables. Put on a podcast. It goes fast.
Can I meal prep if I don’t have a lot of containers?
Absolutely. Start with whatever you have — even repurposed takeout containers work in the short term. You really only need 4-5 containers to get started. I’d recommend investing in one set of glass containers with snap-lock lids once you know you’ll stick with it. Avoid thin plastic ones; they stain, warp, and absorb odors *ridiculously* fast.
What if I get bored eating the same thing every day?
That’s exactly why I recommend prepping components, not identical finished meals. With one grain, one protein, and roasted vegetables, you can make a rice bowl on Monday, a wrap on Tuesday, toss it into a quick soup on Wednesday, and throw it over salad greens on Thursday. Change the sauce each day and it honestly feels like a different meal. Variety comes from assembly, not from cooking five separate recipes.
Is meal prep actually cheaper than eating out?
In my experience, dramatically so. A typical week of meal-prepped lunches costs me between $25-35 in groceries, compared to the $12-15 per meal I was spending eating out. That’s roughly $200-300 in savings per month. The first week might cost a bit more if you’re buying pantry staples like oils, spices, and soy sauce, but those last for months.
Should I meal prep dinners too, or just lunches?
Start with lunches only. Seriously. Lunches are the meal most people scramble for during a busy workday, so the payoff is immediate. Once you’re comfortable with the rhythm, start doubling your protein or grain batch so you have enough for quick dinners too. Trying to prep every single meal from day one is how people burn out by week two.
Wrapping It Up
Meal prep is not about dedicating your entire Sunday to creating picture-perfect lunch boxes. It’s about preparing a few dependable meals, storing them correctly, and enjoying variety throughout the week without stressing over “what’s for lunch?” Start simple: one grain, one protein, roasted veggies, a versatile sauce, and hard-boiled eggs. This is your base. Gradually expand it — introduce new recipes every couple of weeks, try different seasonings, and discover what meal prep means for you. Remember, the most sustainable version is the one that feels manageable, not just Instagram-worthy. Now go cook some chicken thighs.